Blog

  • Welcome, Winter

    This week we reopened the school to a full class and some familiar friendly faces. Welcome and welcome back! 

     Upward Spiral buddies
    Upward Spiral buddies

    This first week of the program introduced the idea of grain graphics in wood, a central aspect of our work. We discussed selecting our material with intention, rotating the orientation of the growth rings in a piece when milling, always aiming for the grain to be in harmony with the curves and profiles that we shape in each piece. 

    We have added chainsaw milling to this first week to expand upon these concepts, showing how a log can be sawn with the same consideration to grain orientation, yielding boards with the best possibilities for grain that is harmonious with our work. 

     Robert and Will make the first cut
    Robert and Will make the first cut
     Sharpening between cuts
    Sharpening between cuts

    The students gave the Alaskan mill a go, sawing up an Arbutus log that Robert has had for a couple of years.

     Spencer and Mike make a cut
    Spencer and Mike make a cut

    Thank you all for being here this winter, I am excited as ever to be back. 

     Jake cuts Claro walnut
    Jake cuts Claro walnut
  • Farewell Fall Session

    Last week we wrapped up our fall session with a final Elephant at Robert and Yvonne’s home. We shared a delicious potluck dinner and several special closing rituals, including a farewell address from JK in Robert’s shop and a bonfire, on a wonderfully clear night. 

    I completed the frame and panel joinery on my doors earlier in the week, enjoying a grand opportunity to mortise for the mid-rails of my doors on JK’s table saw mortiser in Robert’s shop. What fun!

     Mortising my mortises
    Mortising my mortises

    I got three slices out of my piece of spalted Beech, giving me several combinations for the door panels. Stoked to finally lay down the frames and preview my options.

     A preview
    A preview

    I also finished up a little frame out of Arbutus that I had been working on, to house a print for one of my oldest and dearest friends Wei-Ling. I am coming to love the open mortise and tenon joint, strong and simple, and the more I see it the more I am struck by its straightforward good looks. 

     Open mortise and tenon
    Open mortise and tenon
     Rabbet run, frame assembled, ready for strips and pins
    Rabbet run, frame assembled, ready for strips and pins

    It is my first time using glass in a frame, and I find something so very elegant about this method of pinning it in a rebate with narrow strips of wood, nicely bevelled and edges softened.

     Hanging wire
    Hanging wire

    I spent a good part of a day exploring how the frame would be hung, finally settling on a simple wire, wrapped around brass screws set into the frame. Robert suggested I carve a little groove in the strip for the wire to sit in, a neat touch.

    I am very much looking forward to getting to this stage with my doors next session, which will have glass above and beech below, pinned in rebates the same way. 

    To the fall session, it has been a pleasure working with and sharing a shop with this awesome dedicated group of craftsmen, most of whom are returning next session for Upward Spirals and a Vidar’s chair. Enjoy your break and see you guys soon!

  • Monroe Robinson – Little River California

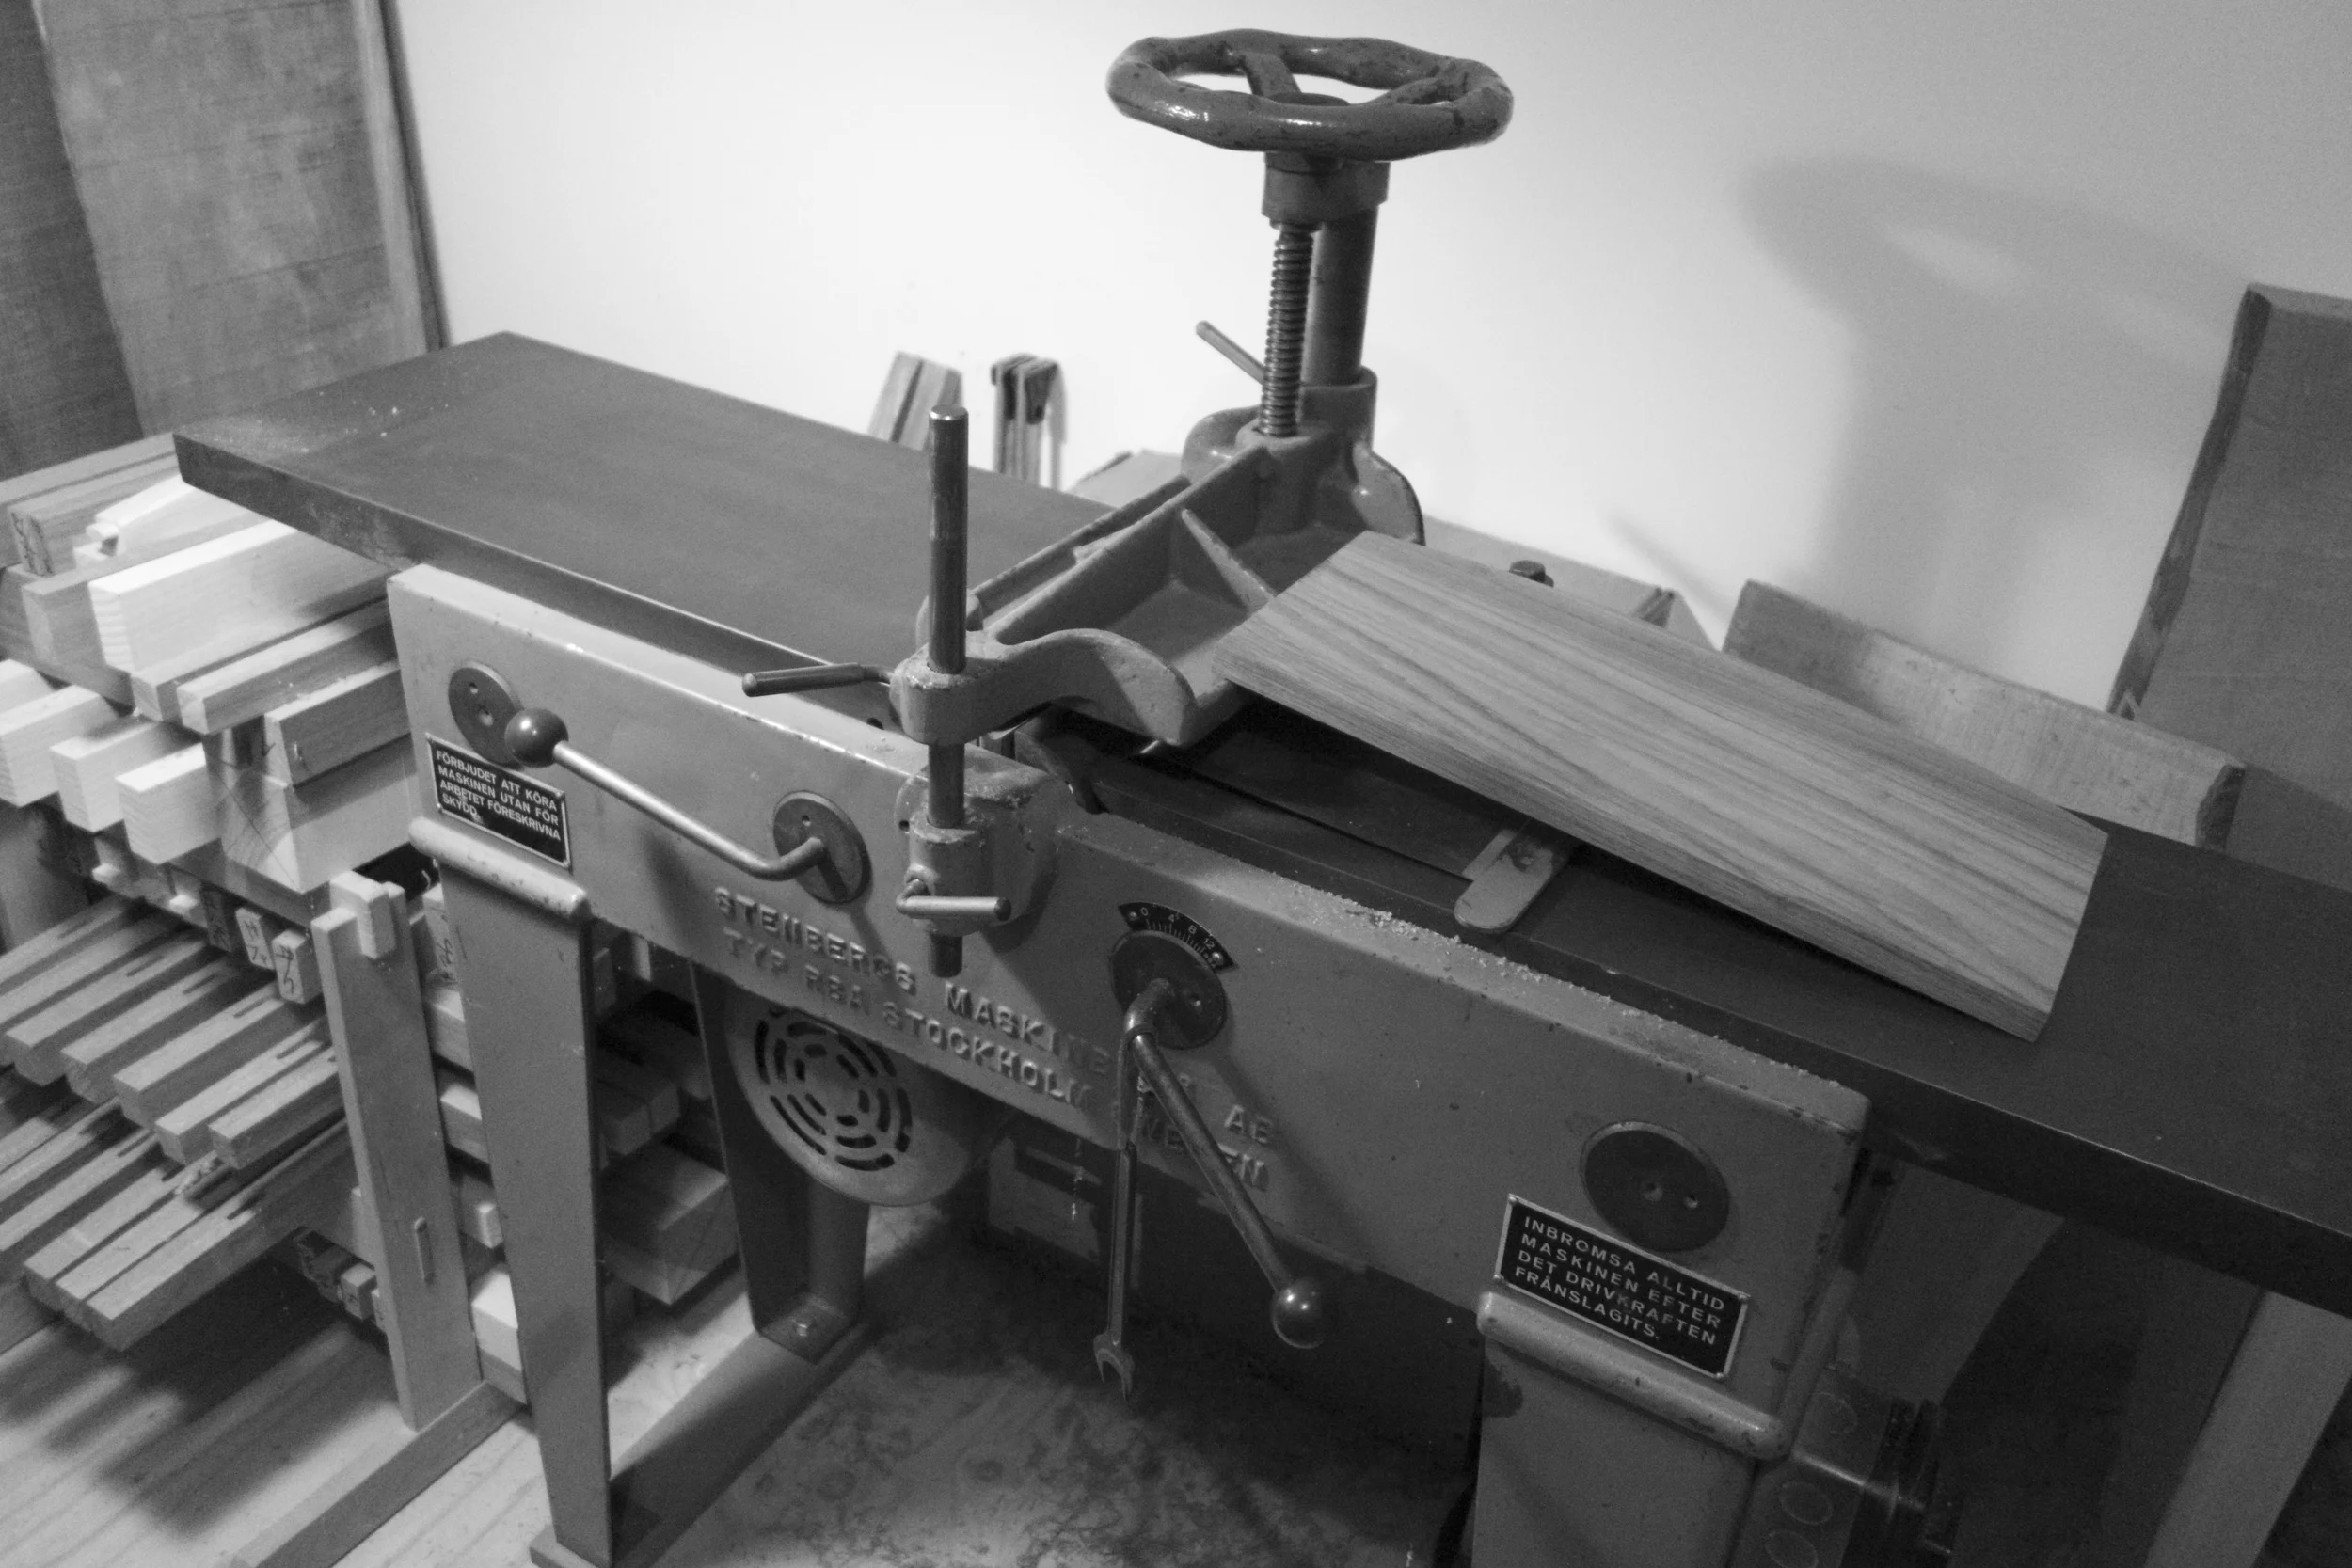
    Jim Krenov’s machines, the ones written about and pictured in “The Fine Art of Cabinetmaking” have a new home with Robert Van Norman who operates the Inside Passage School of Fine Cabinetmaking in Roberts Creek, British Columbia.  Jim Krenov is most known for his use of hand tools and a caring attitude to create fine and creative small cabinets each one a treasure, but because of Jim’s writing about his measured use of these four finely produced machines through his years in Sweden, they, too, are a part of his legacy.   When he moved from Sweden he brought his Stenbergs machines with him and they were part of the machines used by students in the Fine Wood Working Program he started in Fort Bragg, California. As the years passed Jim did not wish this level of use day in and day out on the machines and they were removed as other machines were acquired by the school.

    Twenty-nine years ago Jim told me he was thinking of selling his machines and wondered if I wanted any of them.  I told him I thought he should not sell them but keep them for the day he might to longer teach at the Fort Bragg school and would have another shop of his own.  A week later we repeated this conversation and then when asked for the third time I answered that if I were going to purchase his machines that I would like to purchase all of them.  Jim said he was hoping that is what I would say.  When the transfer was made it was with great reverence for these machines but Jim was clear that they were mine with no commitment as to their future.

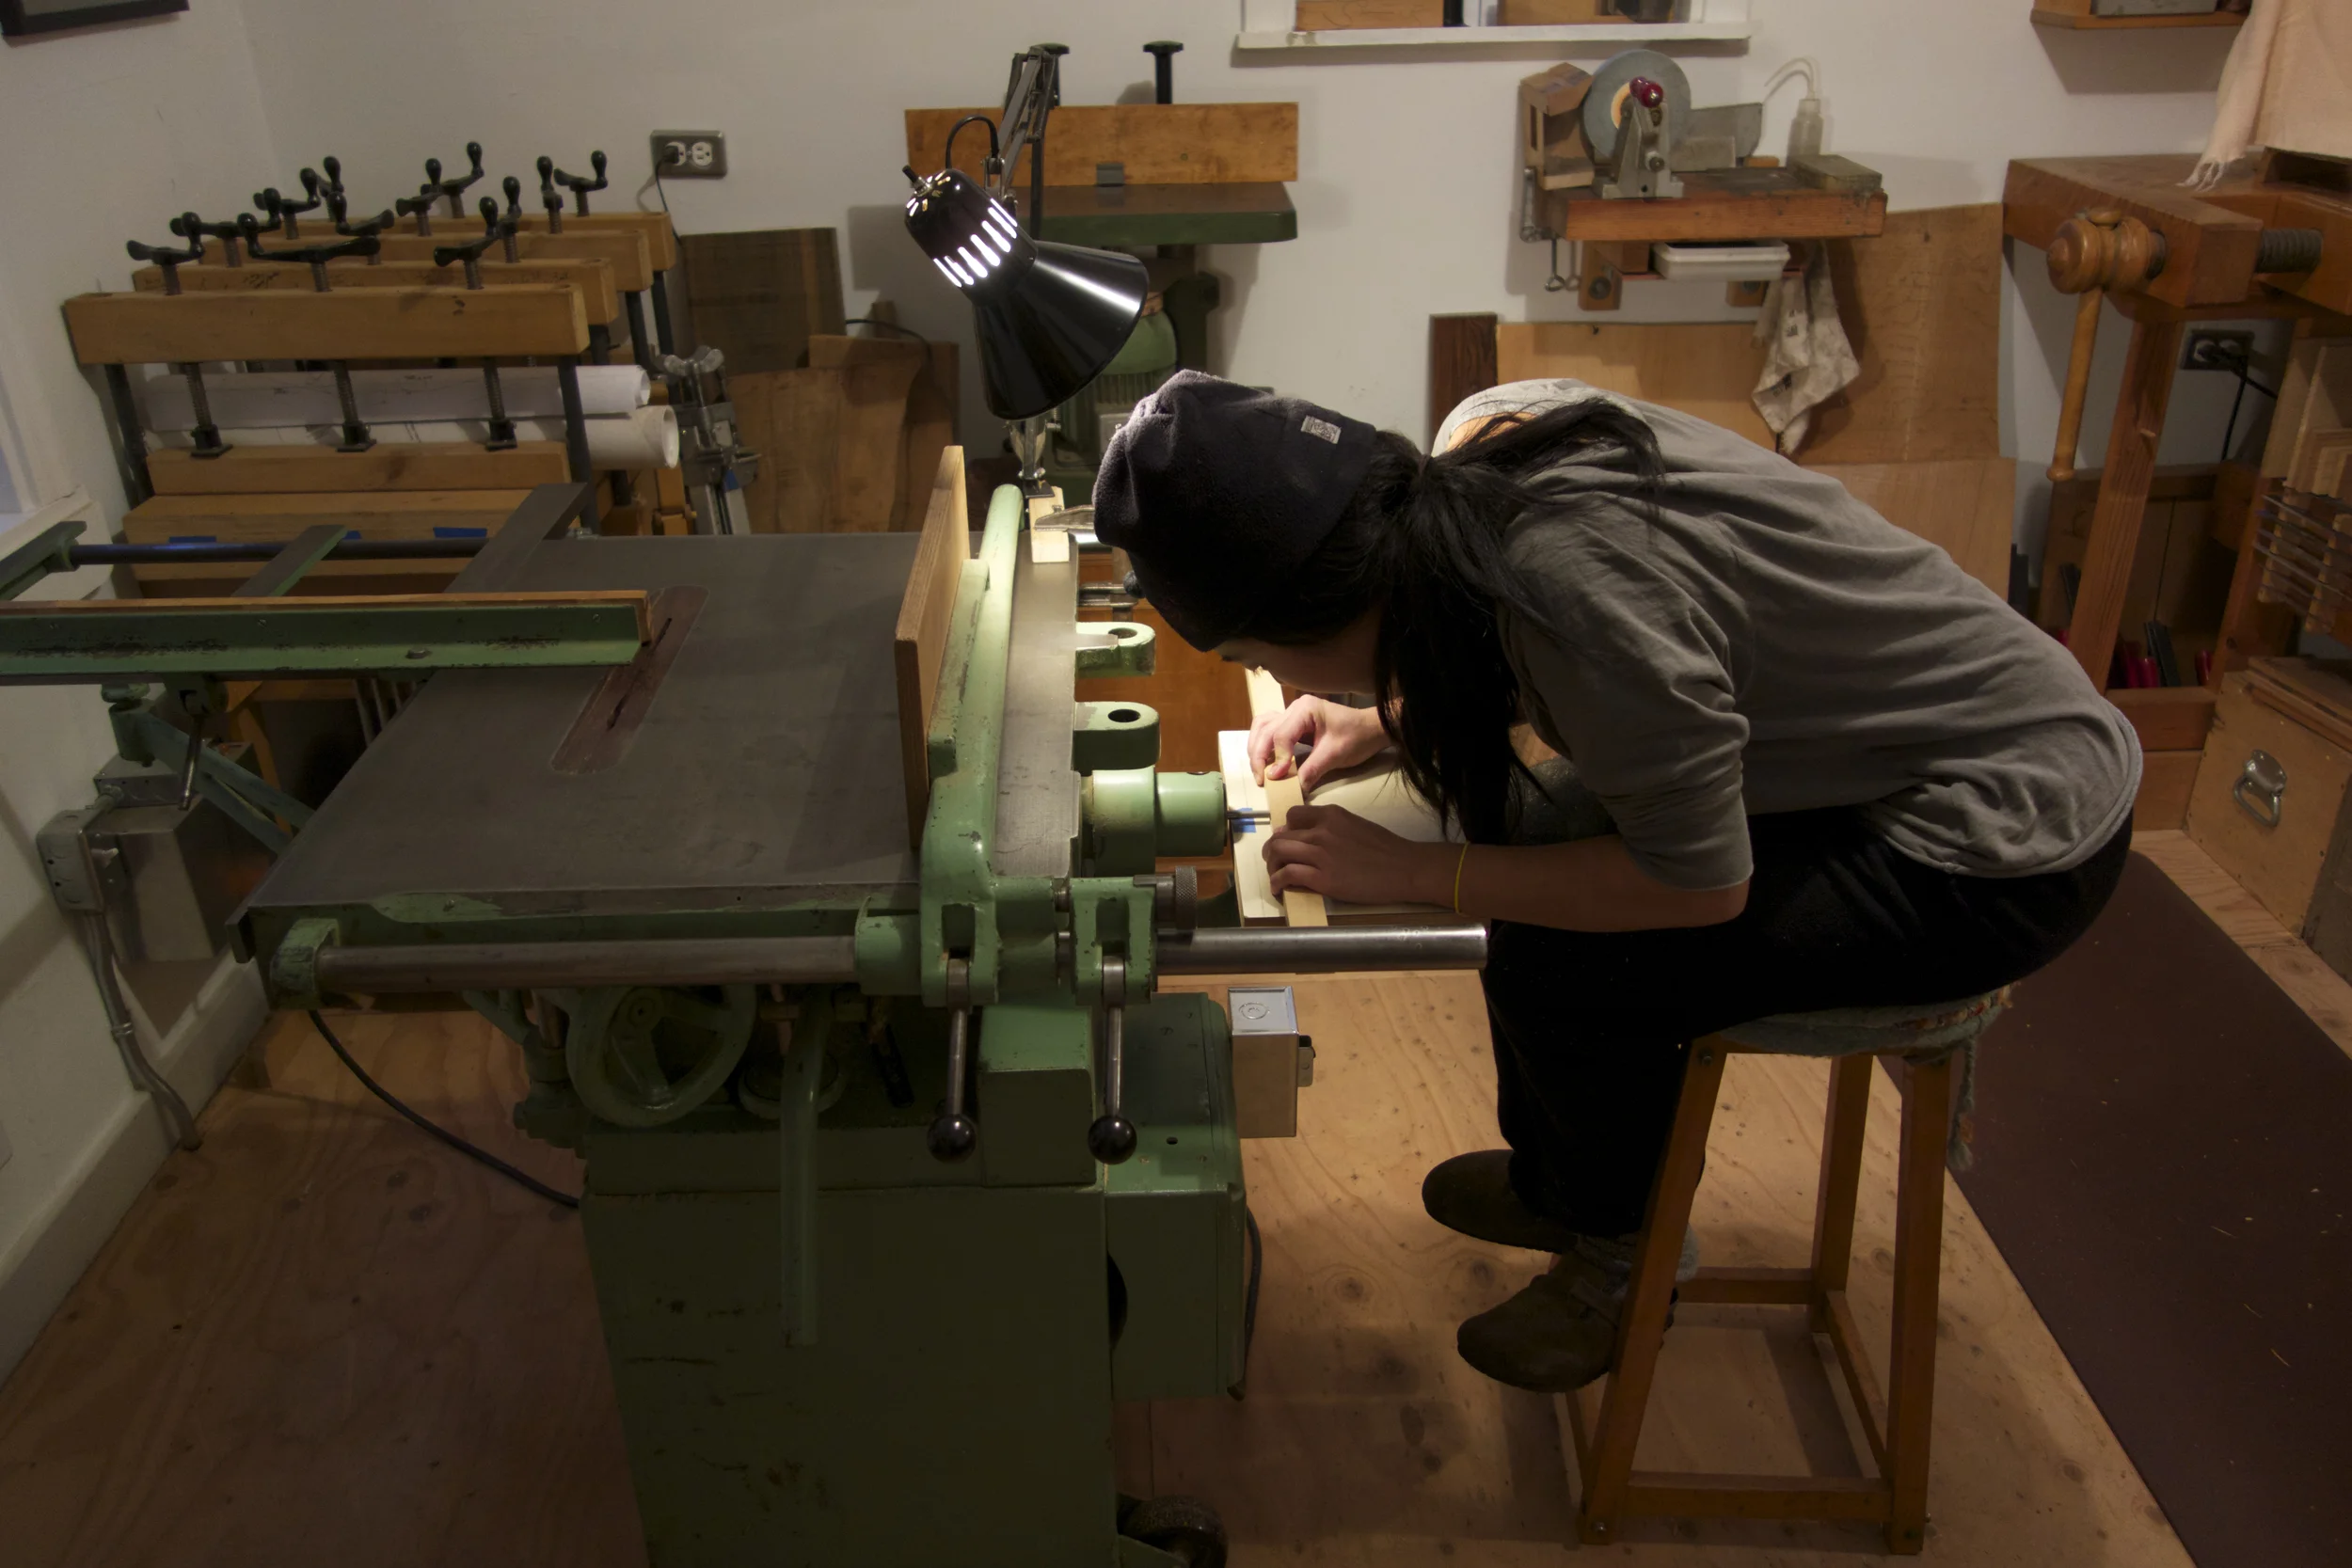
    I have long thought Jim’s machines at their best should be part of student’s inspiration in learning the craft of fine cabinetmaking that Jim practiced and spoke about with such rare elegance.  Using Jim’s machines was a treasure to me every day but they no longer filled my dream of the machines being close to aspiring students.  I knew Robert Van Norman was the right person for these machines and every communication I had with him and his wife, Yvonne, clarified the decision.  Jim Krenov’s wife, Britta, said Jim would love the machines moving to Robert where they would be close to the students at the Inside Passage School.  

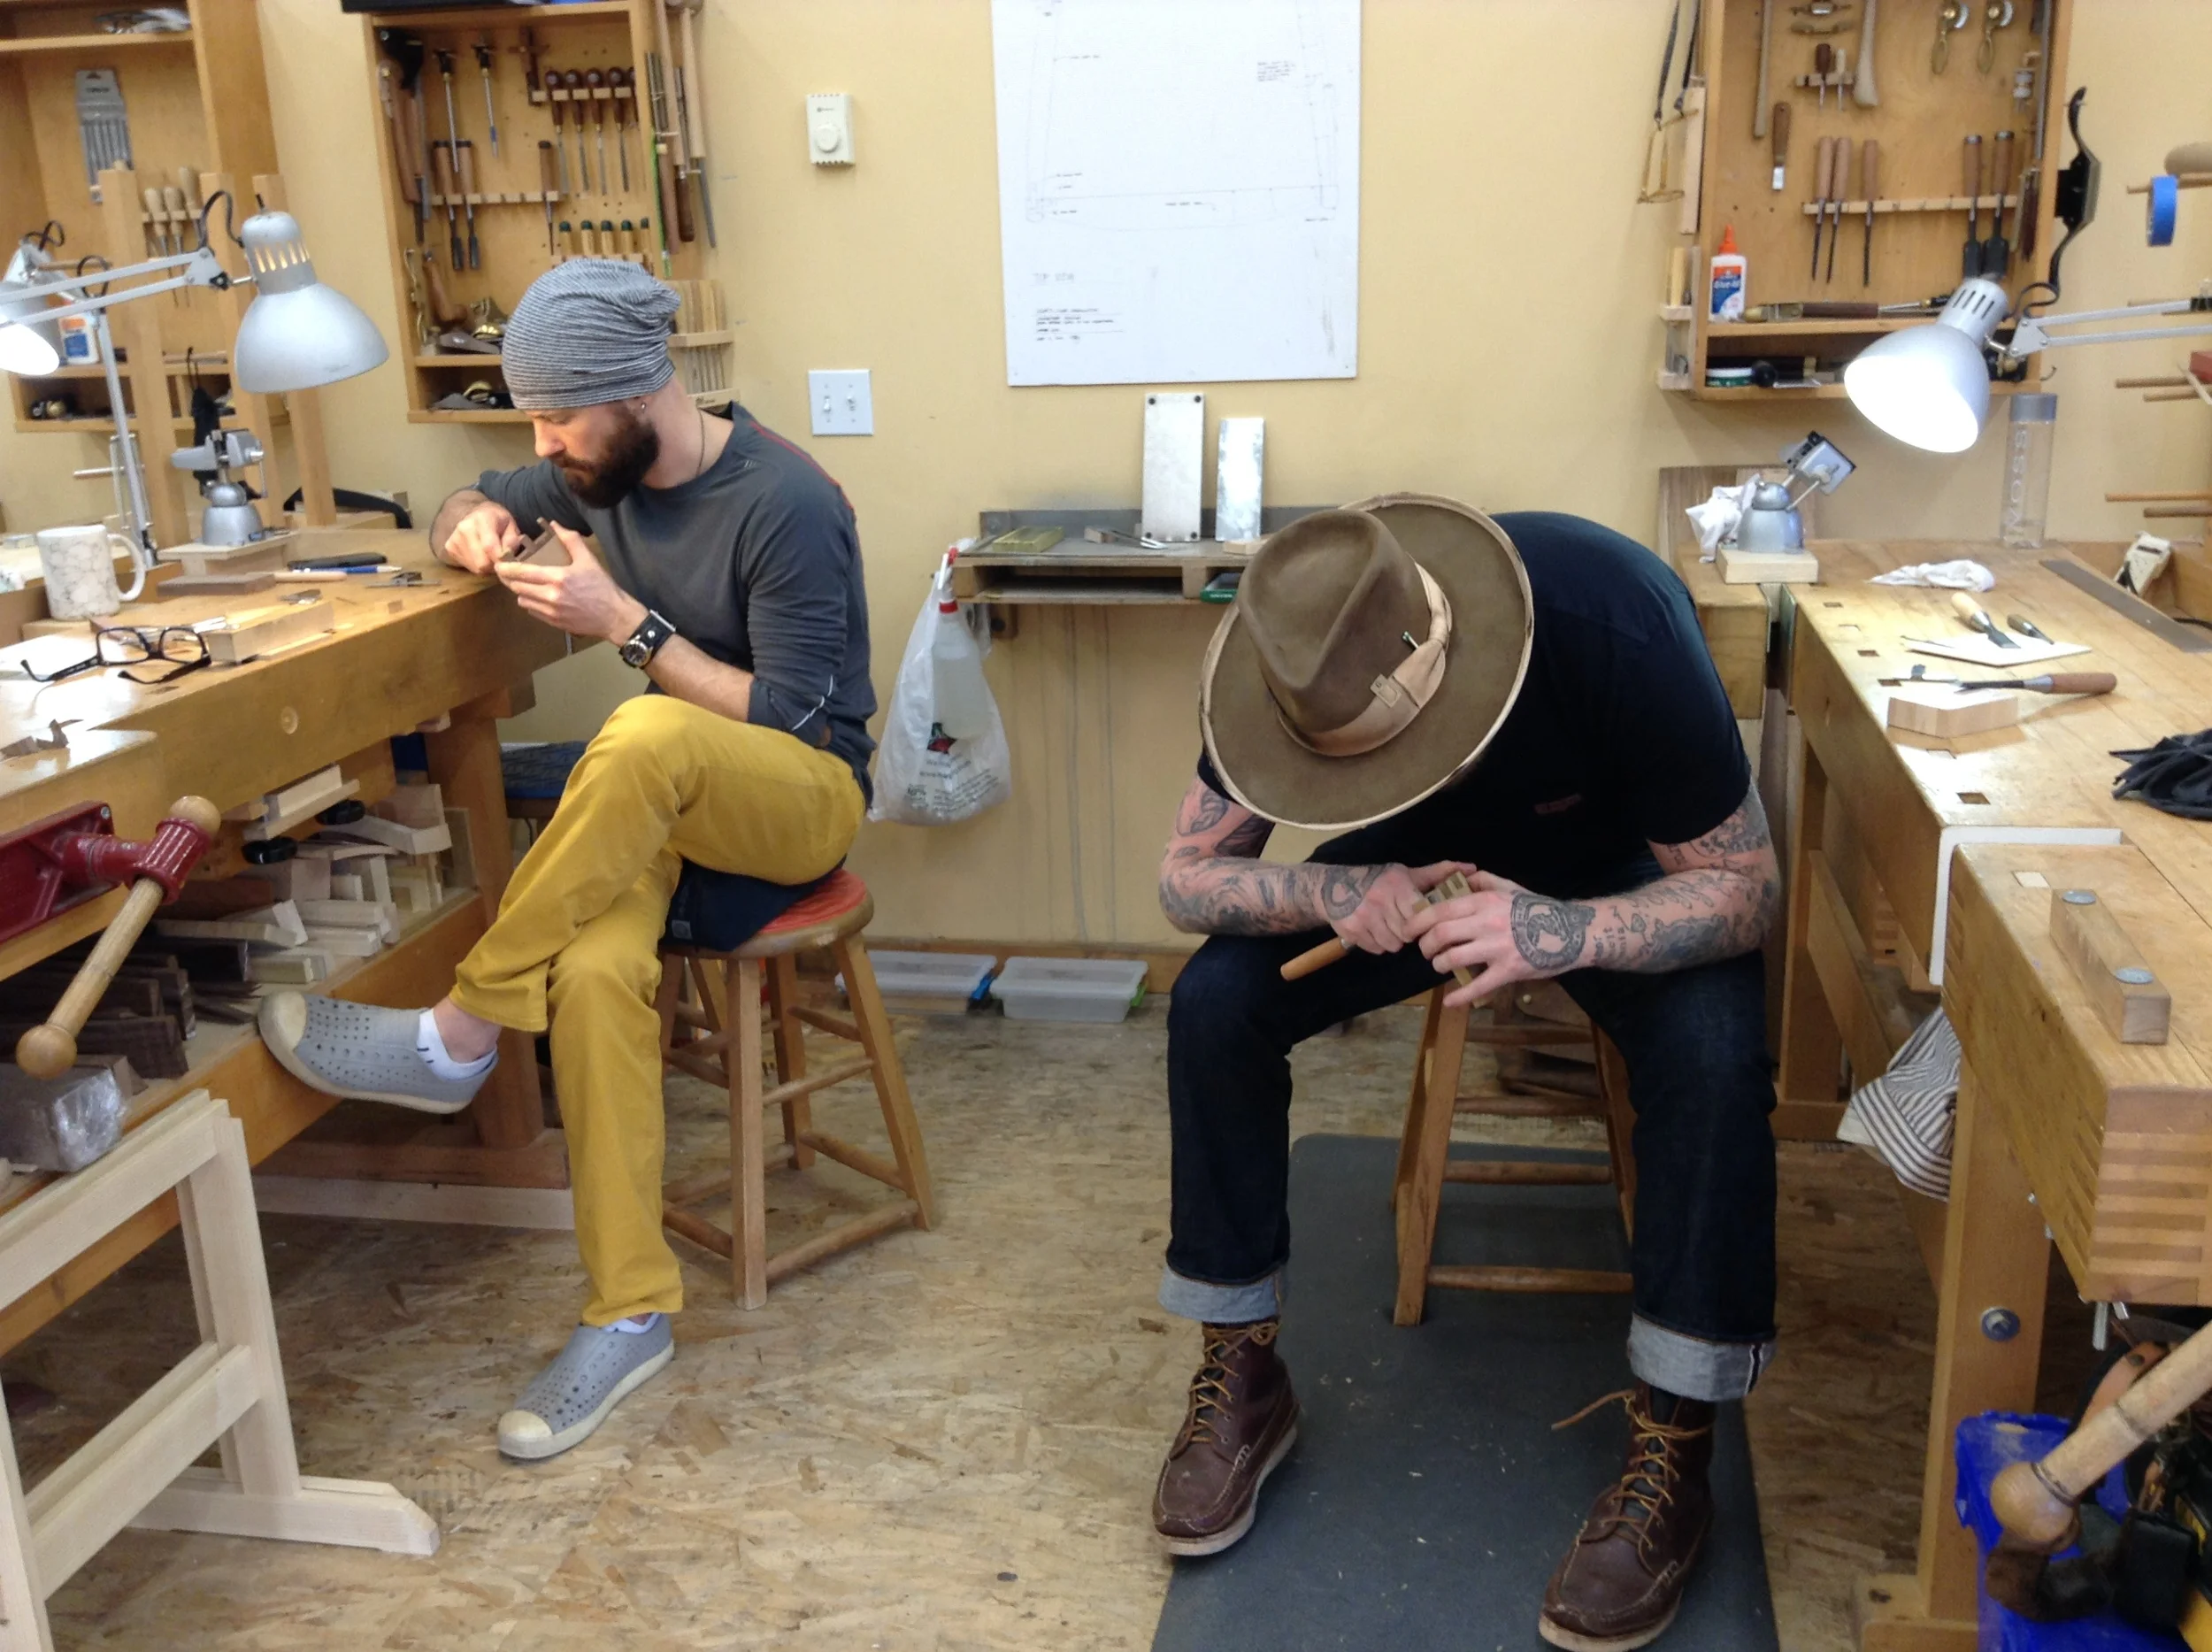
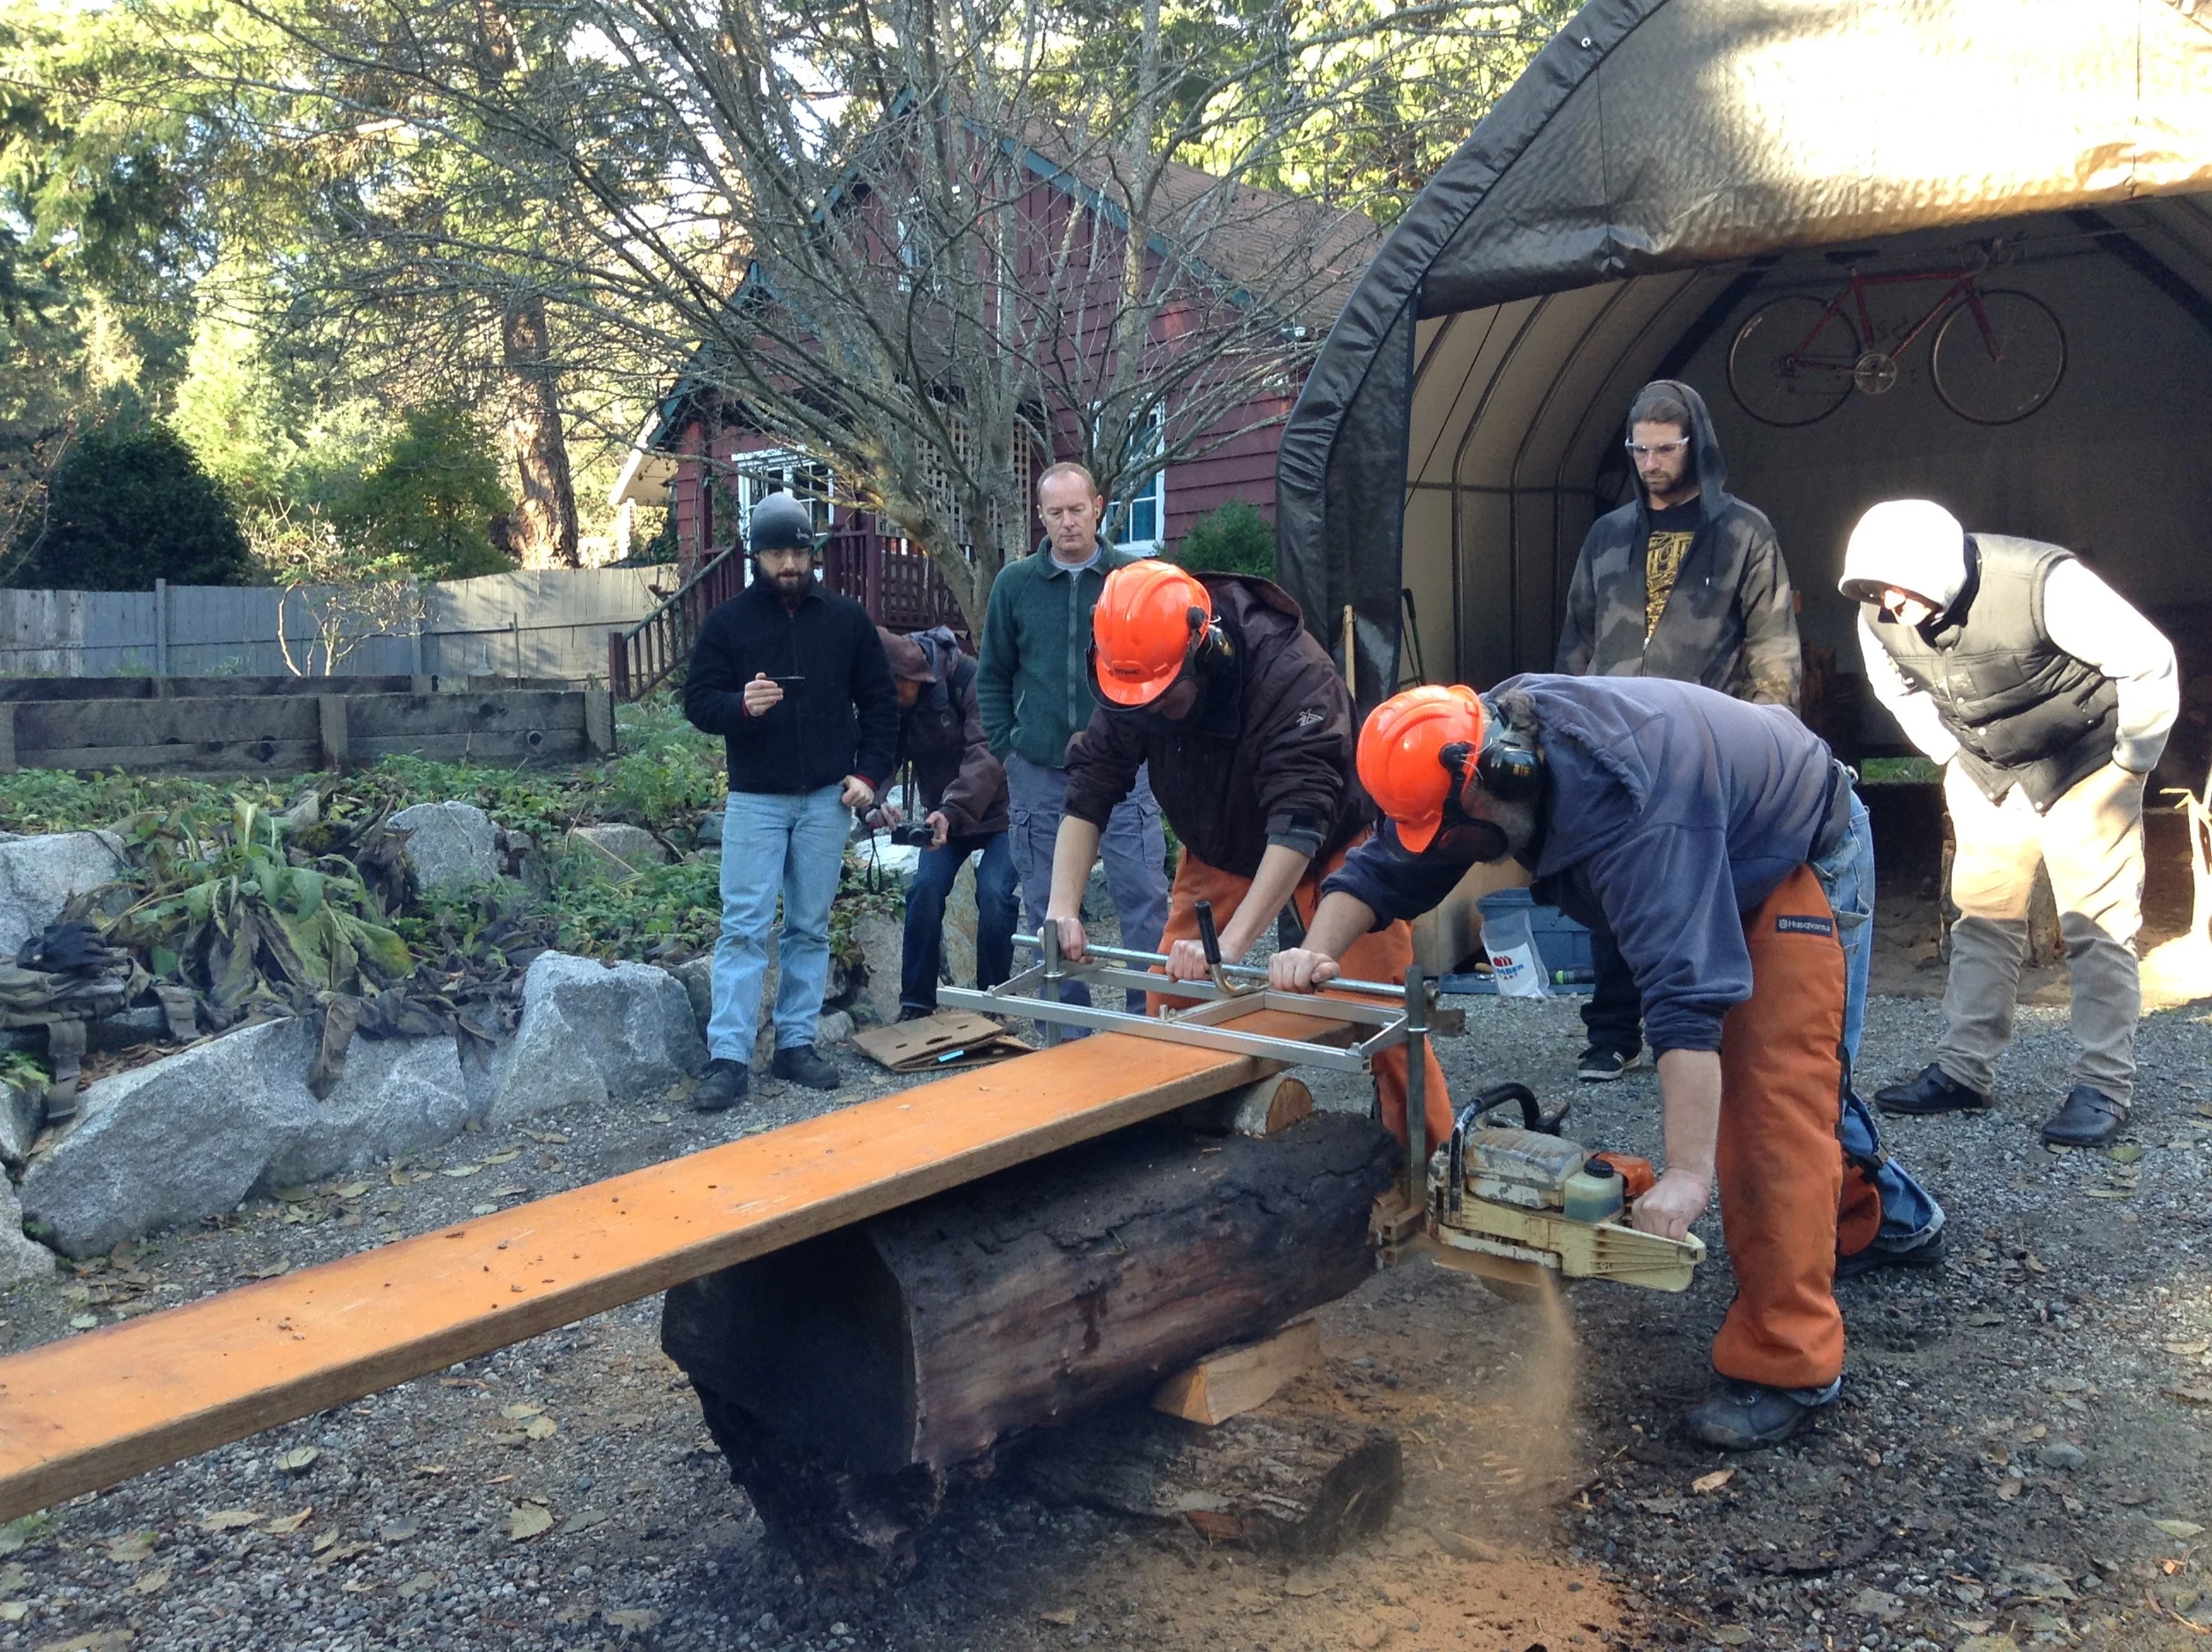
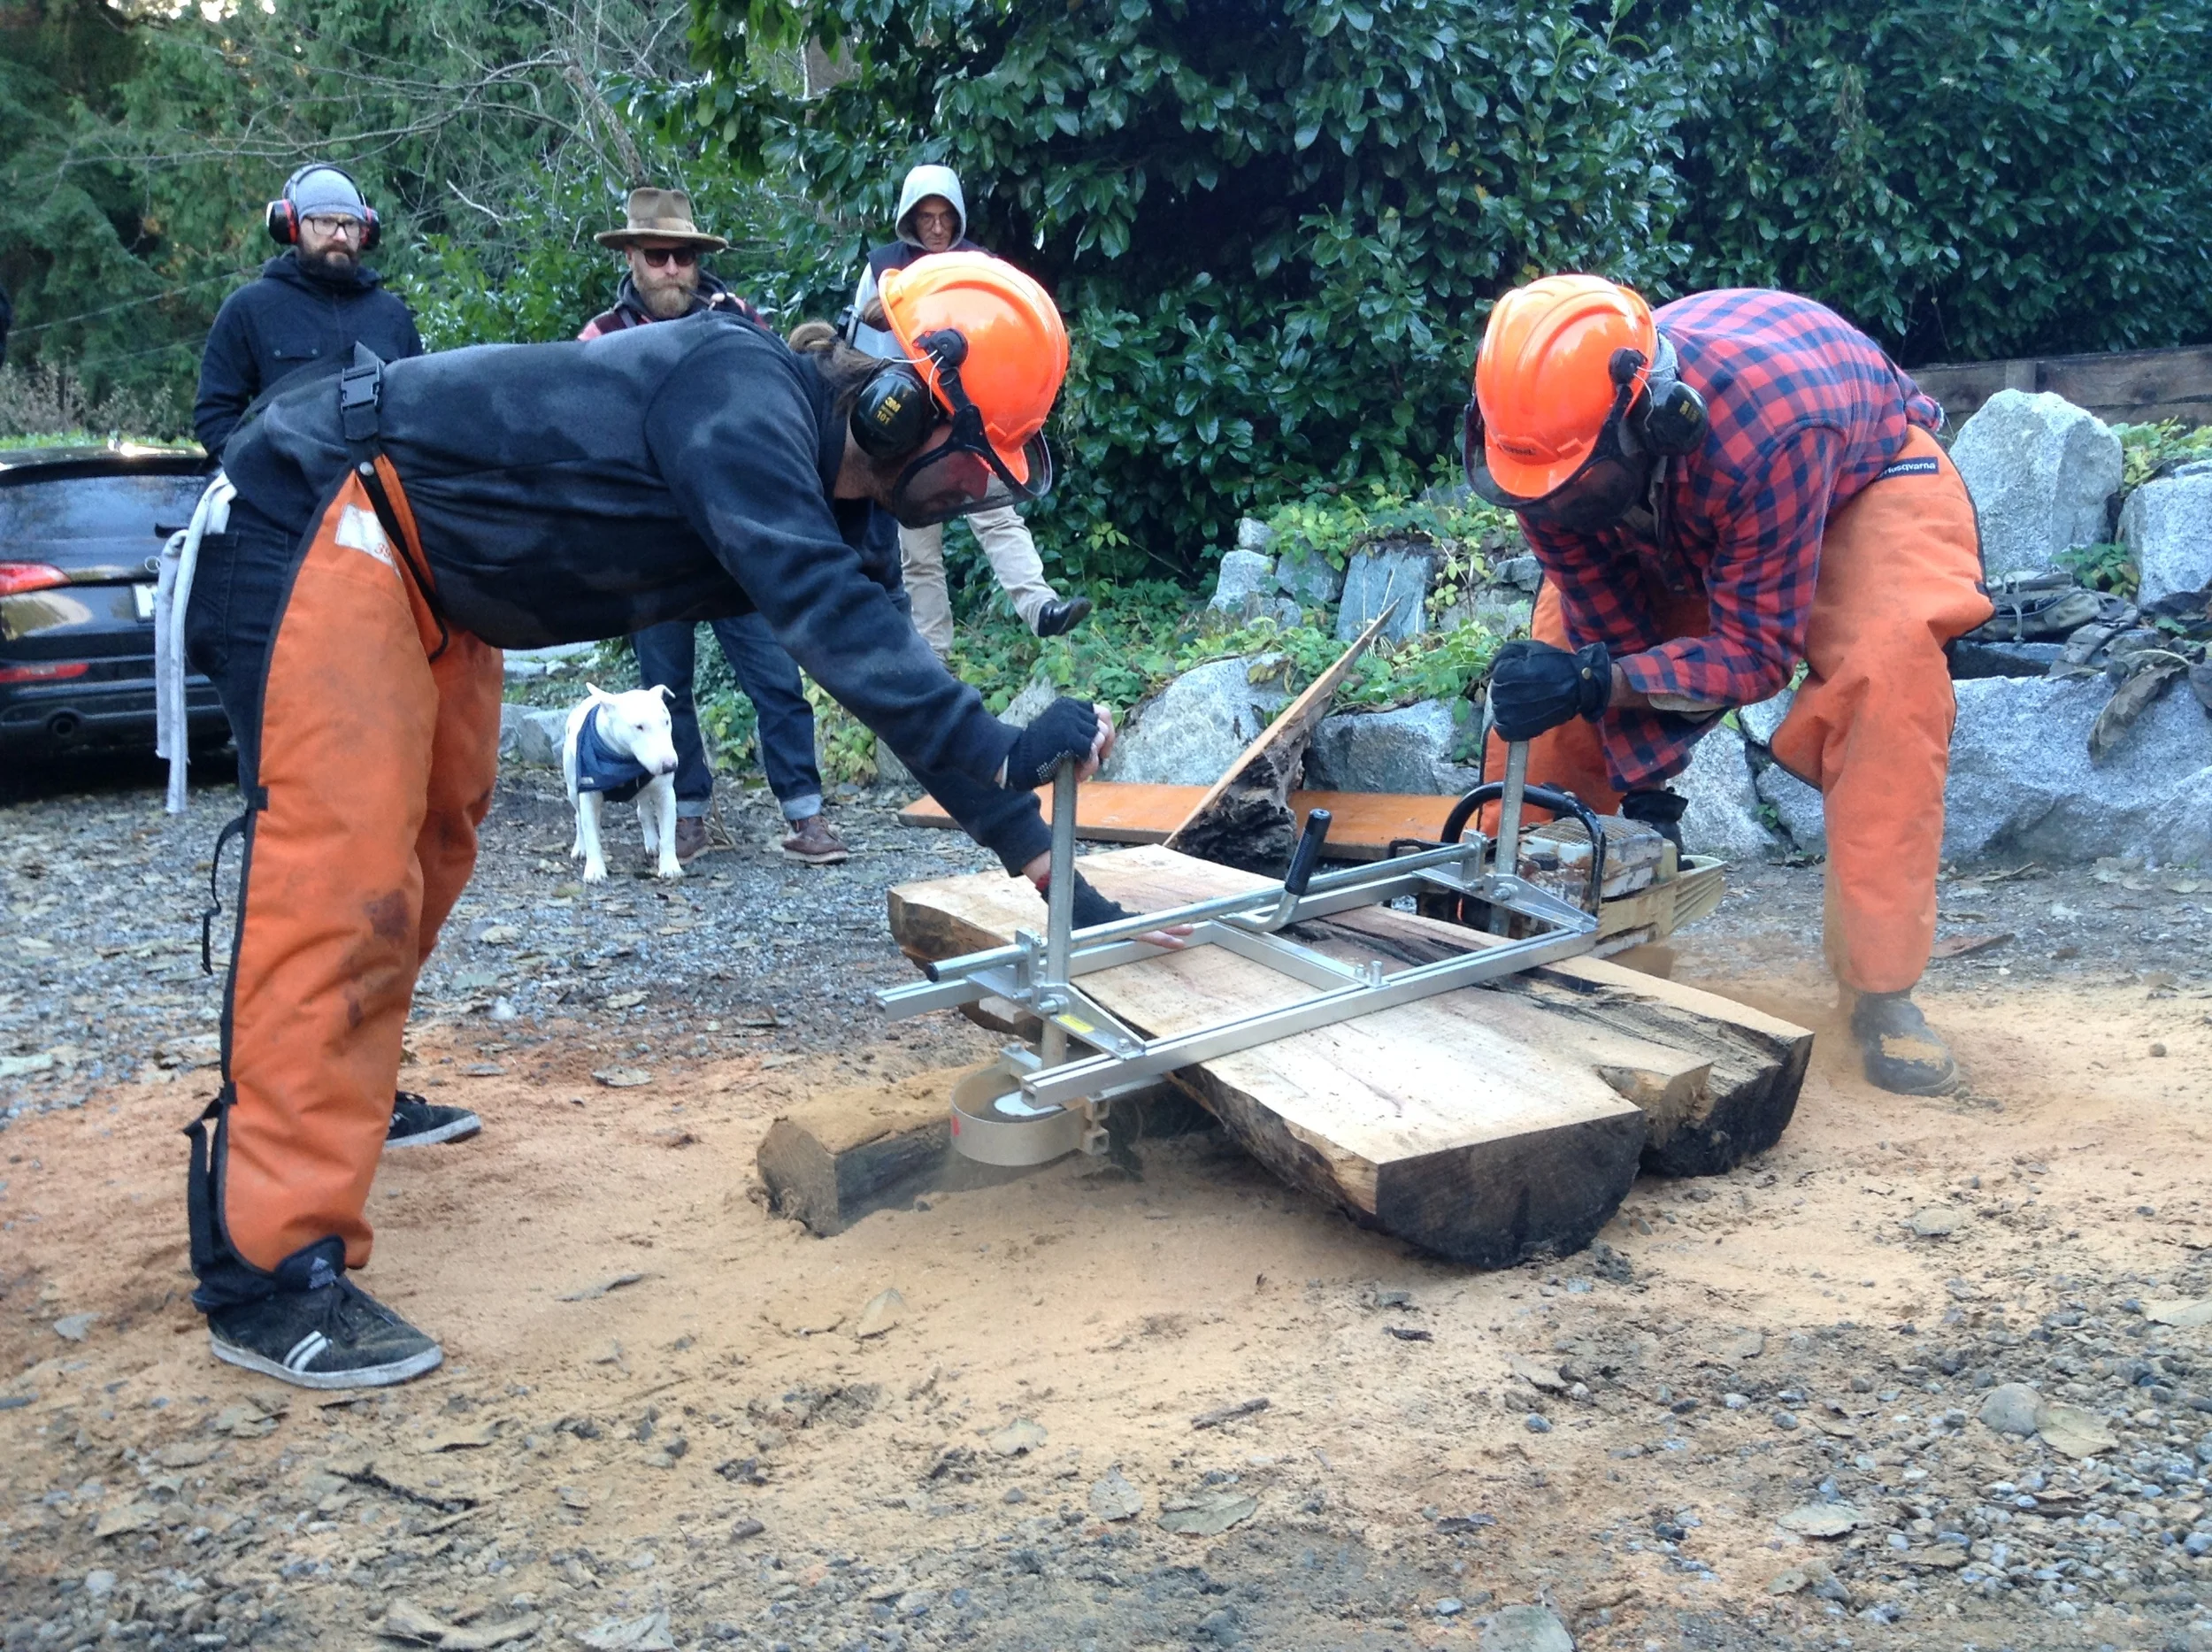
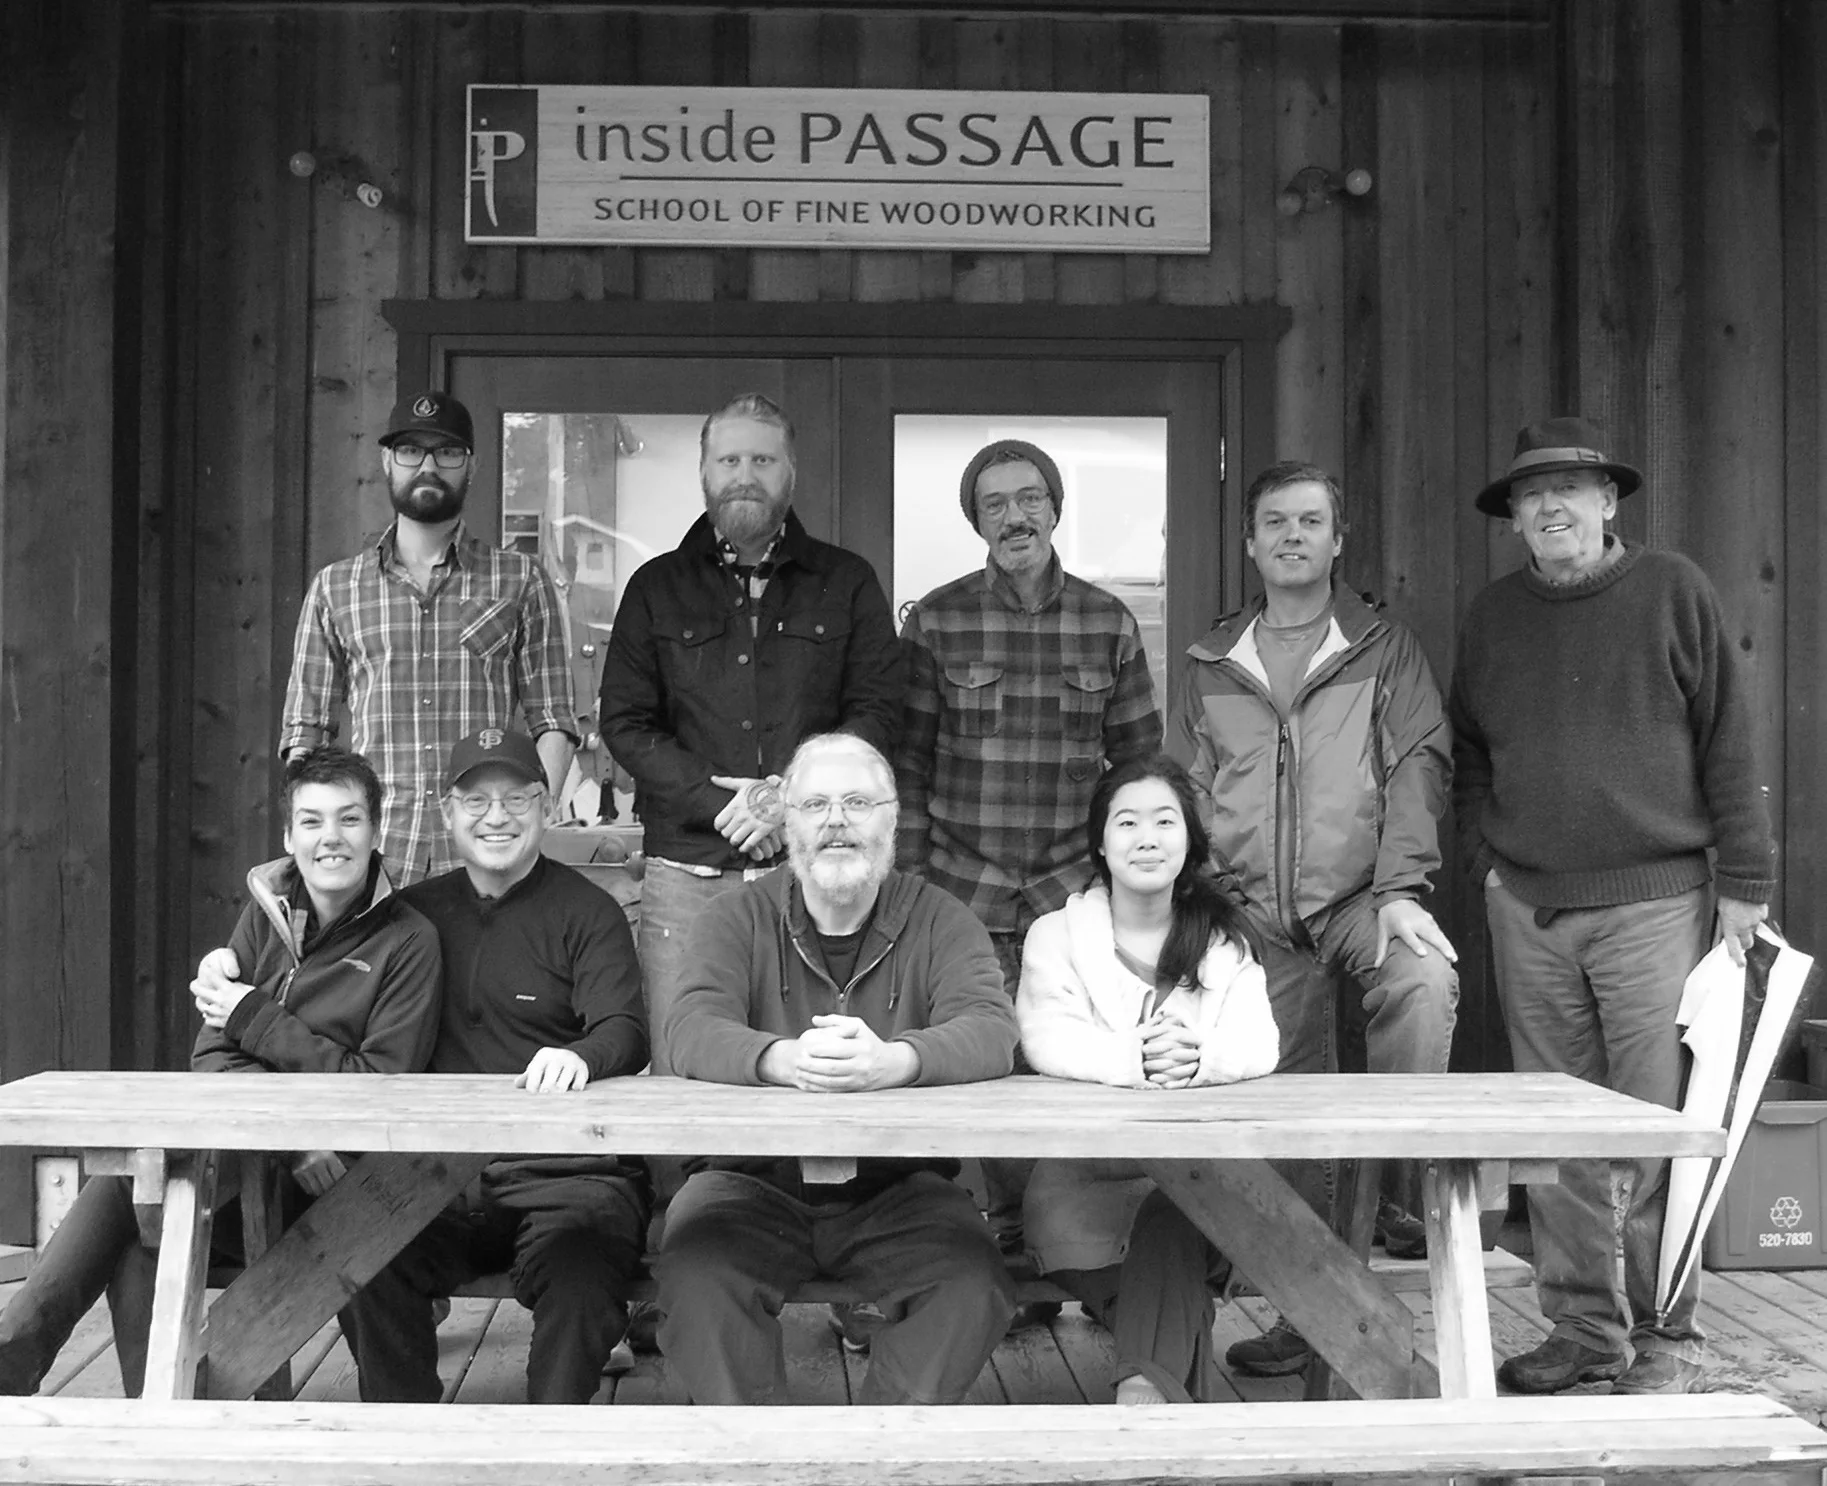
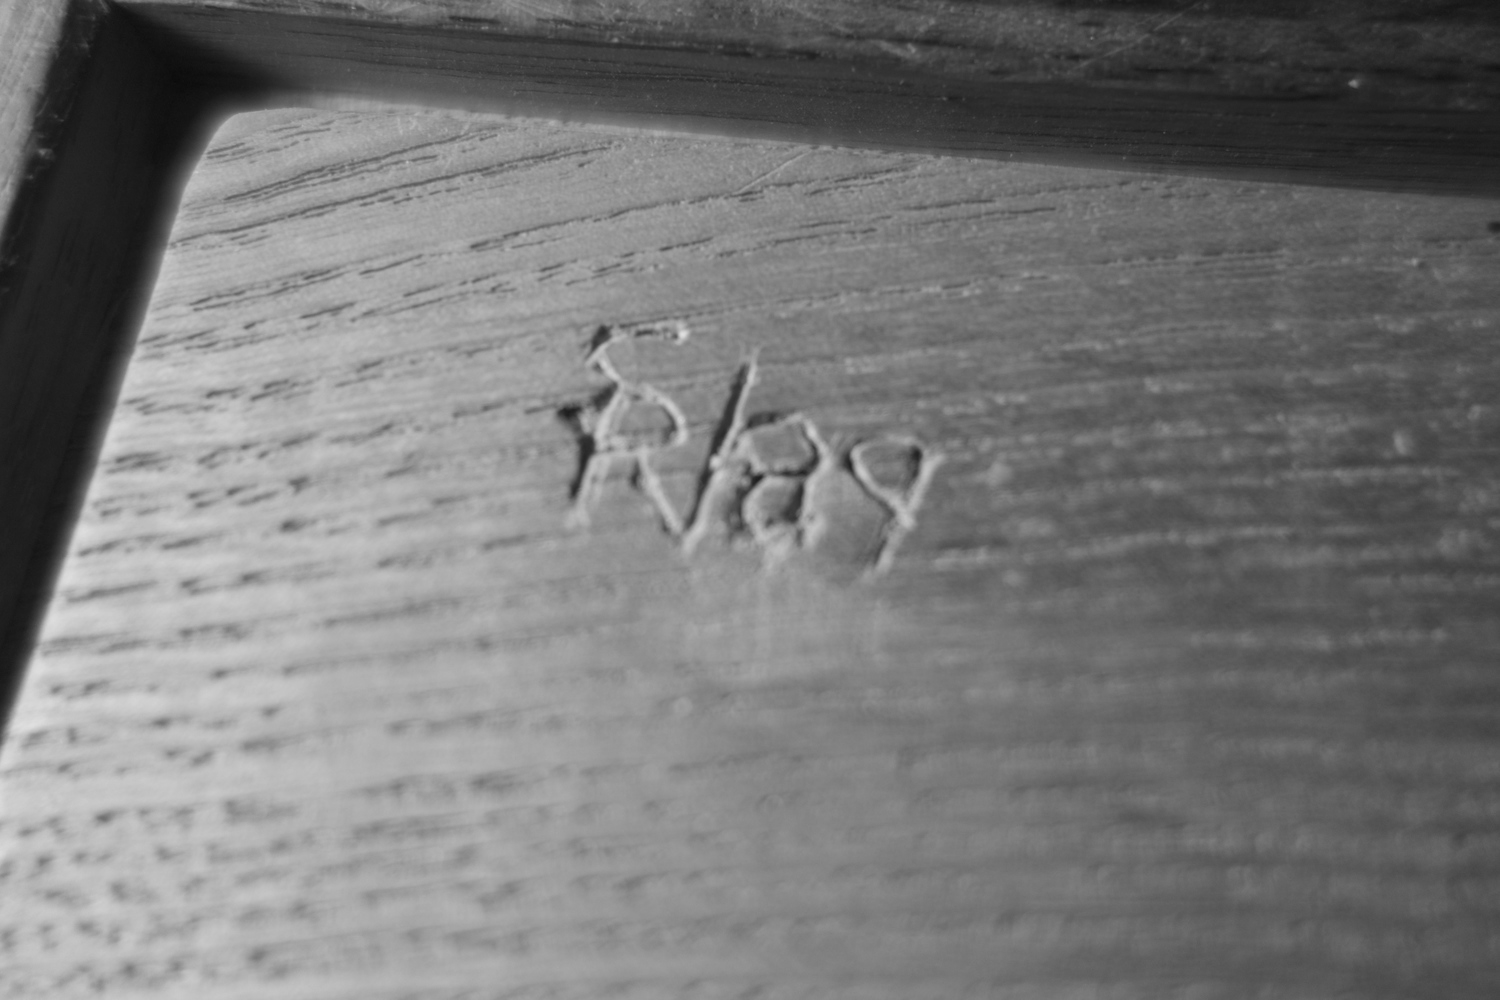
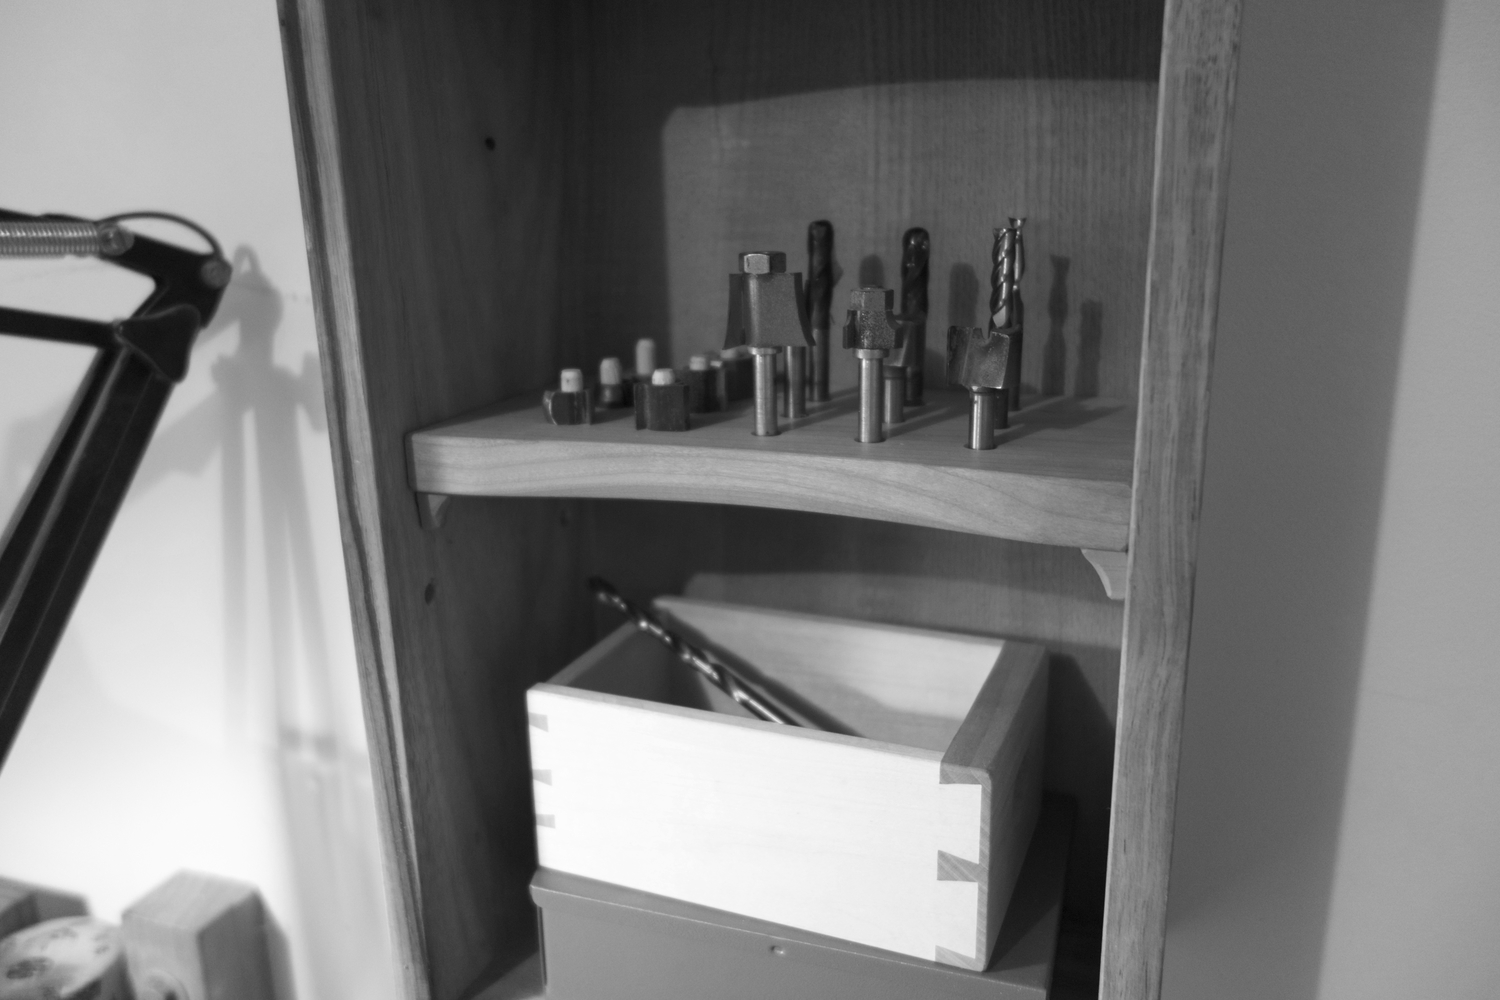
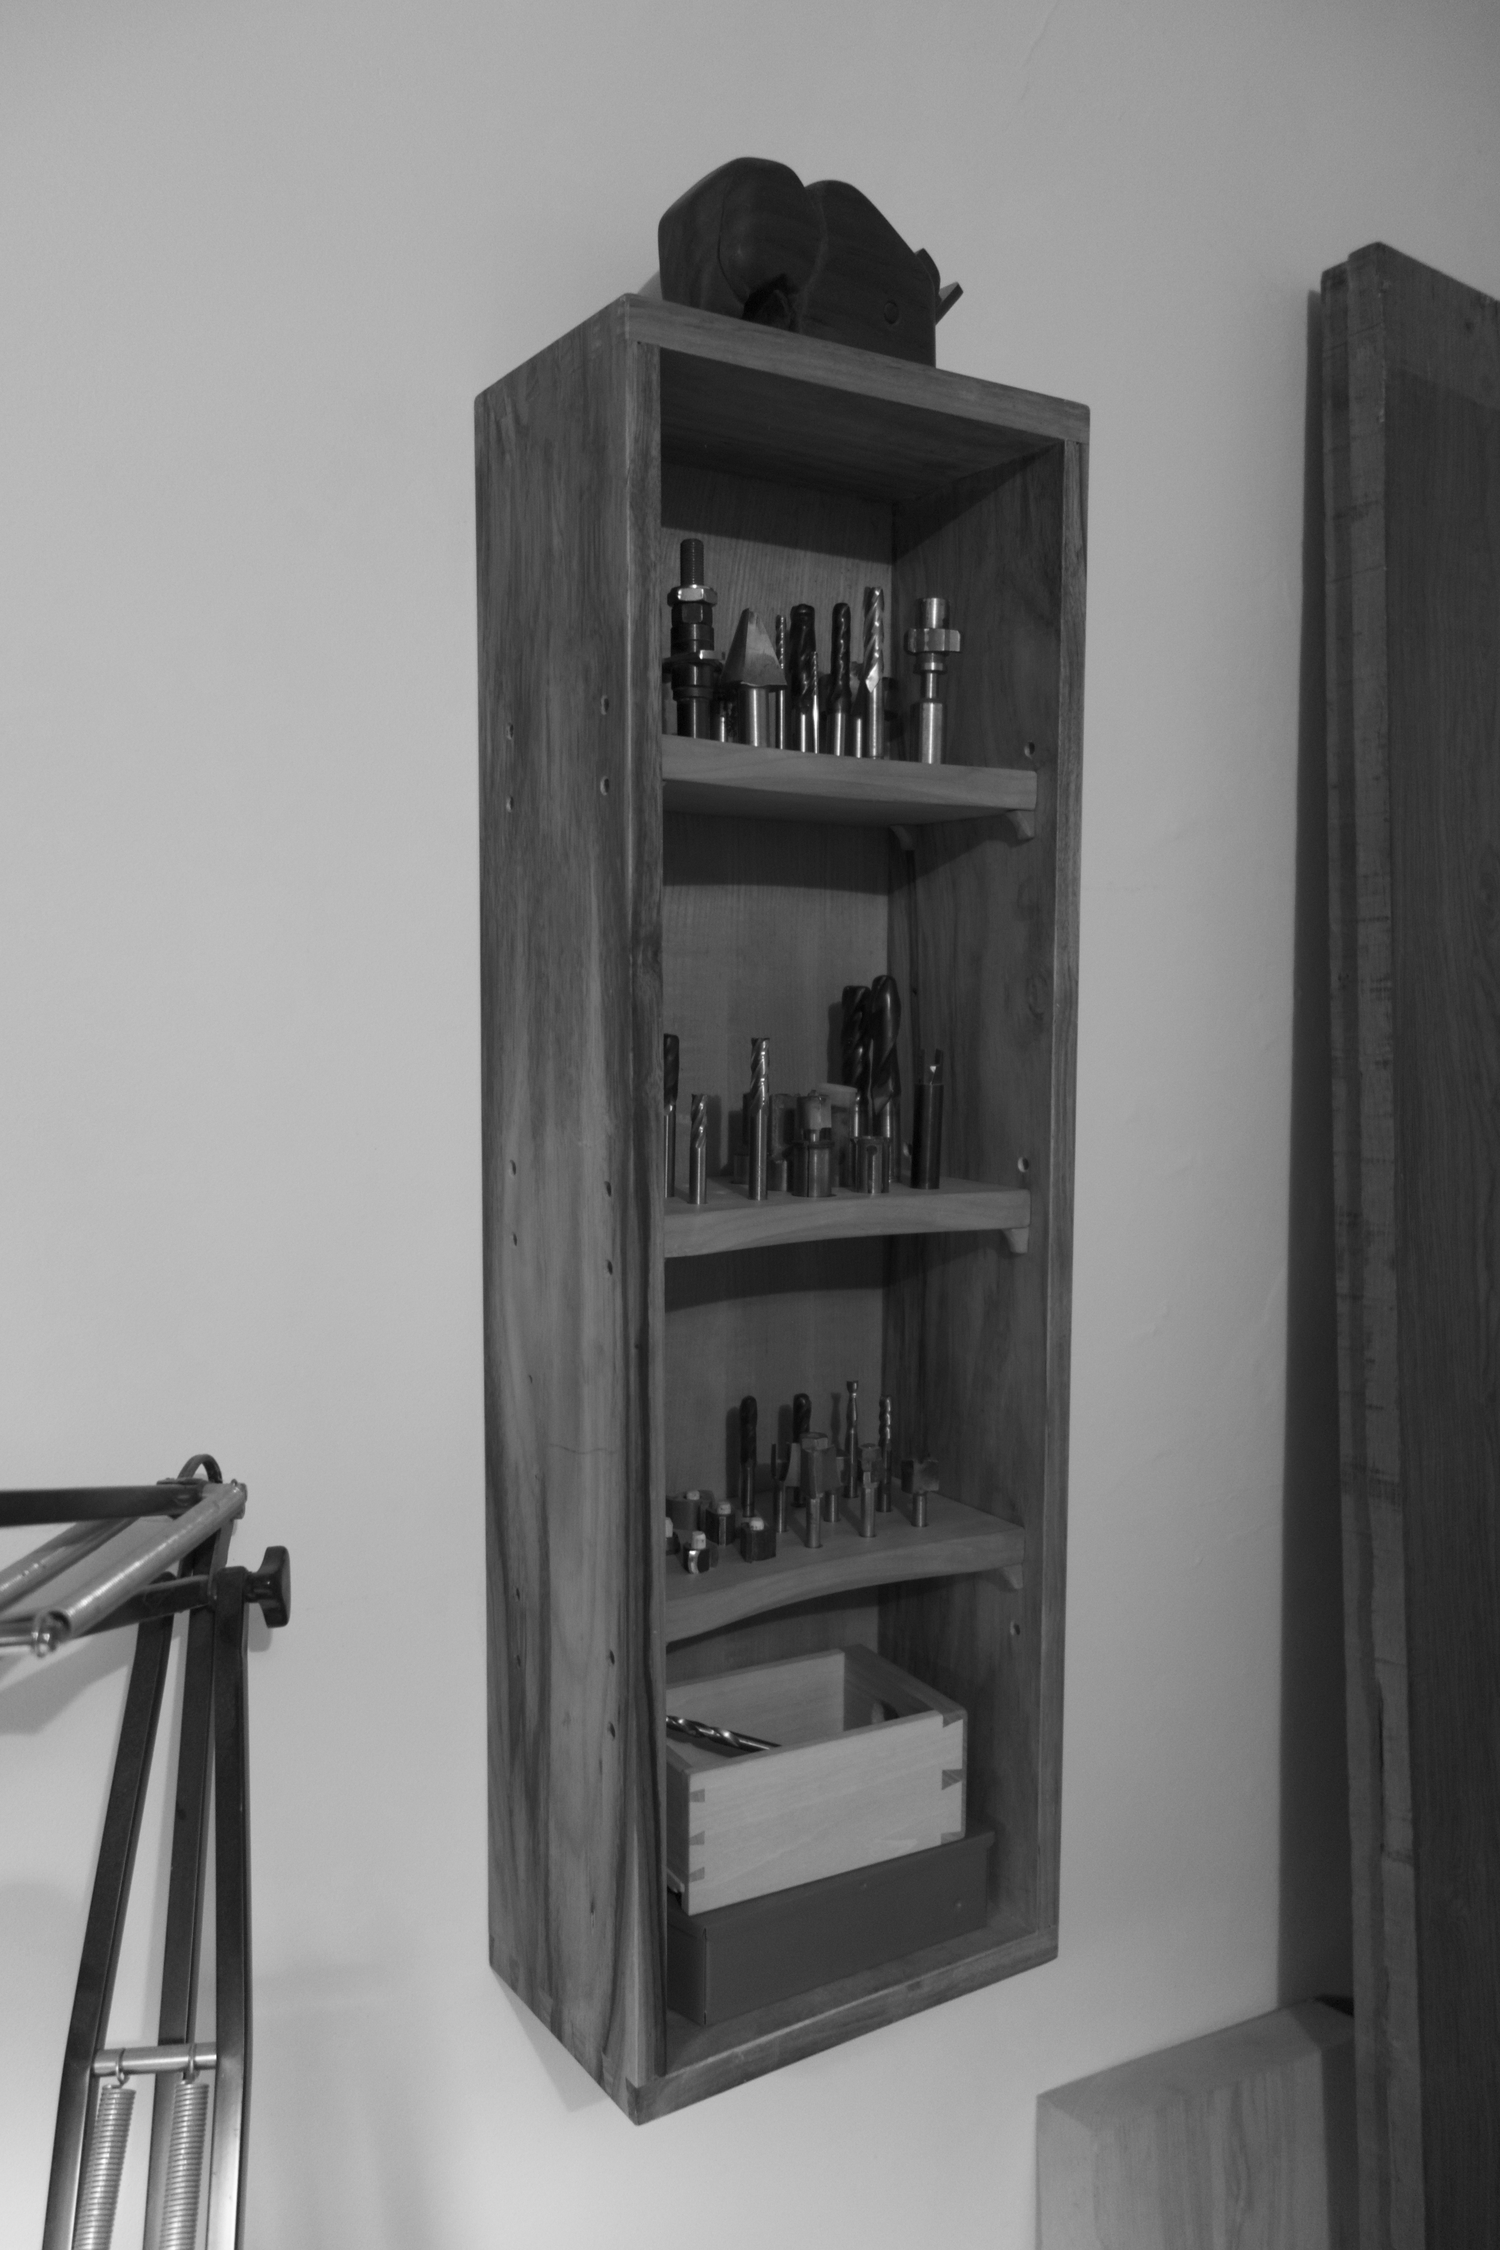
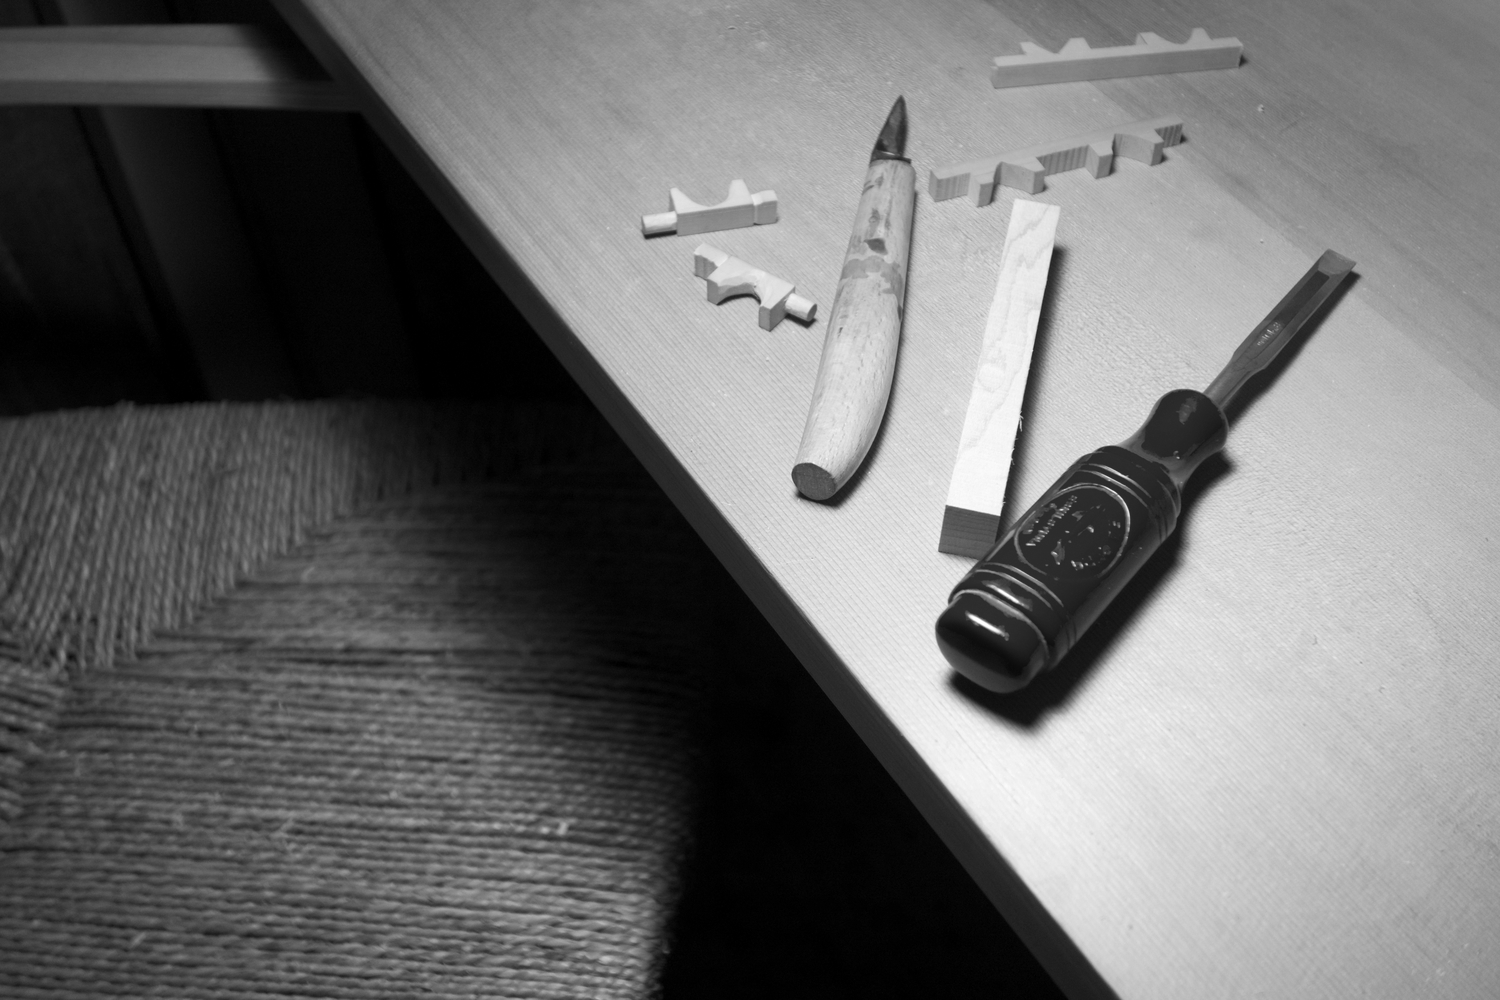
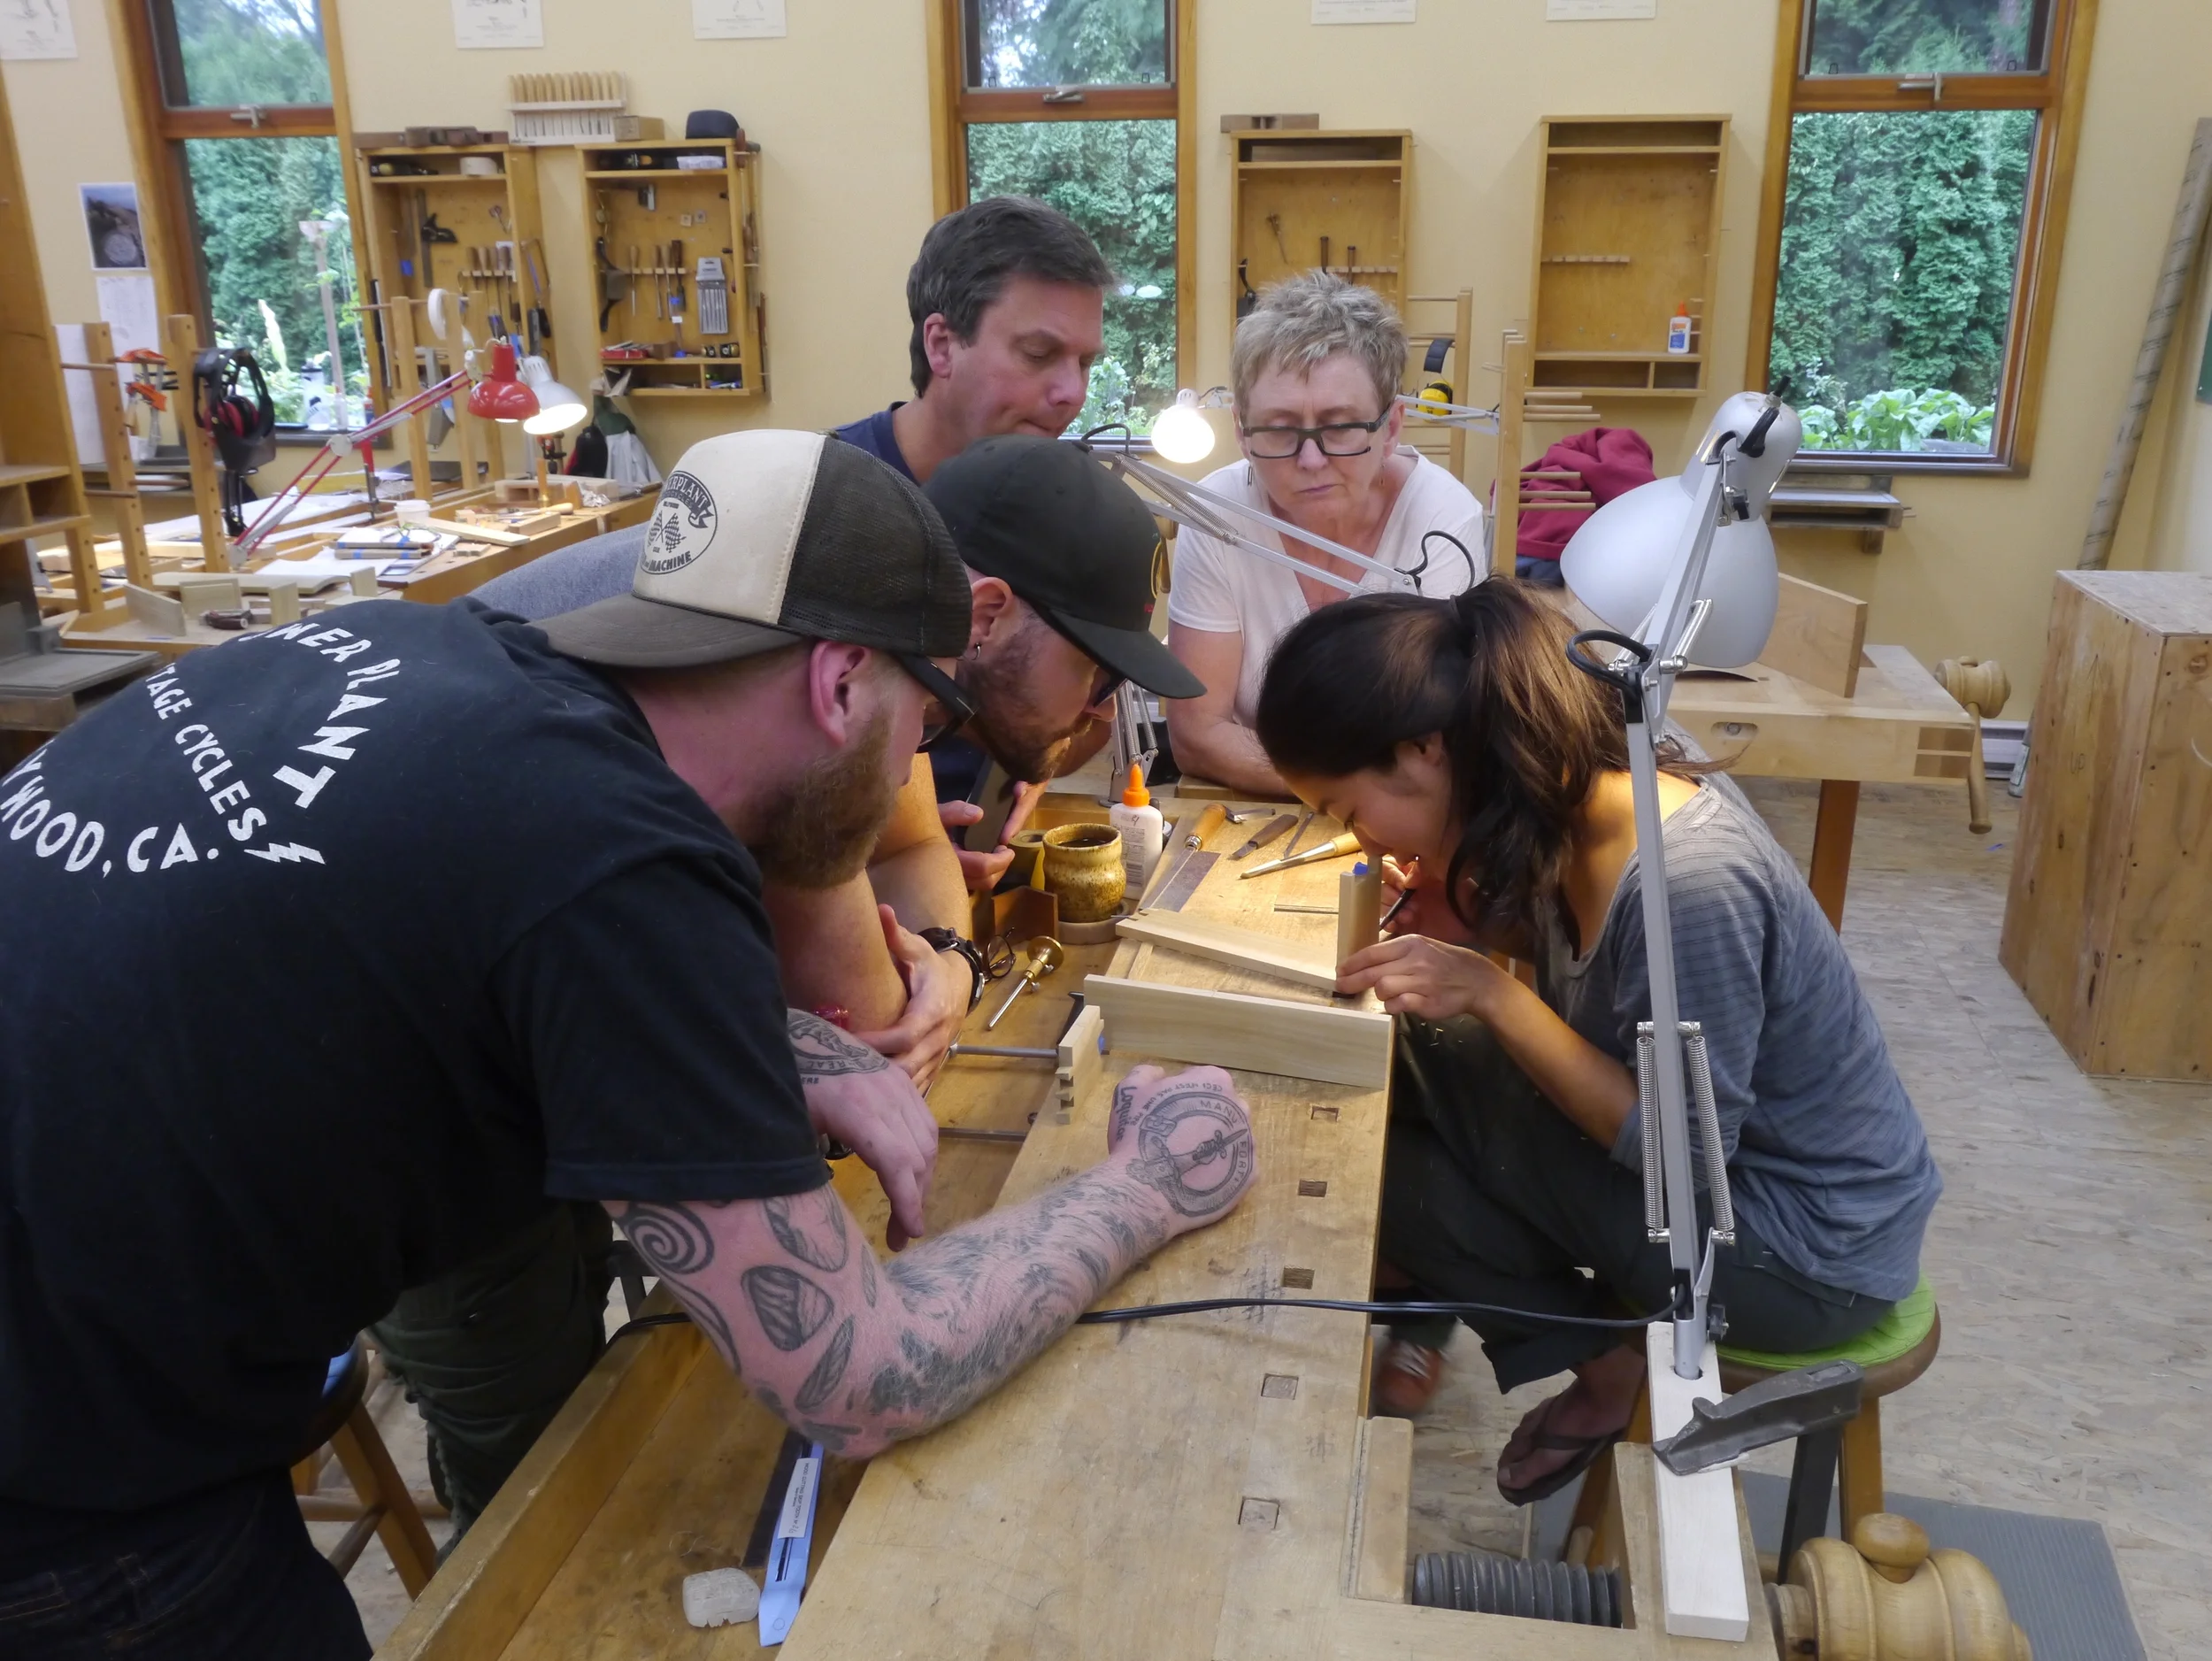
    My wife, K., and I entered the quaint picturesque village of Roberts Creek along the Sunshine Highway in British Columbia to a reception we will never forget.  Large black and white pictures of Jim working at his bench hung on the walls of the Inside Passage School benchroom as students worked. Robert Van Norman has created a setting where the very best of Jim Krenov’s spirit lives on.  Everyone walked to Robert’s home to help unload the machines. I gave Robert my copy of The Fine Art of Cabinetmaking in which Jim had written a little note to whoever might care for these machines in the future.  I shared memories as his student during the third and forth year of his teaching at the woodworking program in California.  A cabinet on the wall of Robert’s small shop contained many of Jim’s hand tools and I thought it must feel somewhat like Jim’s small basement shop in Sweden.  Robert and Yvonne’s sole use of public transportation reminded me of Britta saying how she had not learned to drive until they moved to California.  Another picture of Jim Krenov had a caption from his writing, “Ours is a simple craft. But it is a rich one, too.  At its best, the simple becomes obvious: a band of small discoveries, strung like pearls of curiosity, lending richness to our work.”

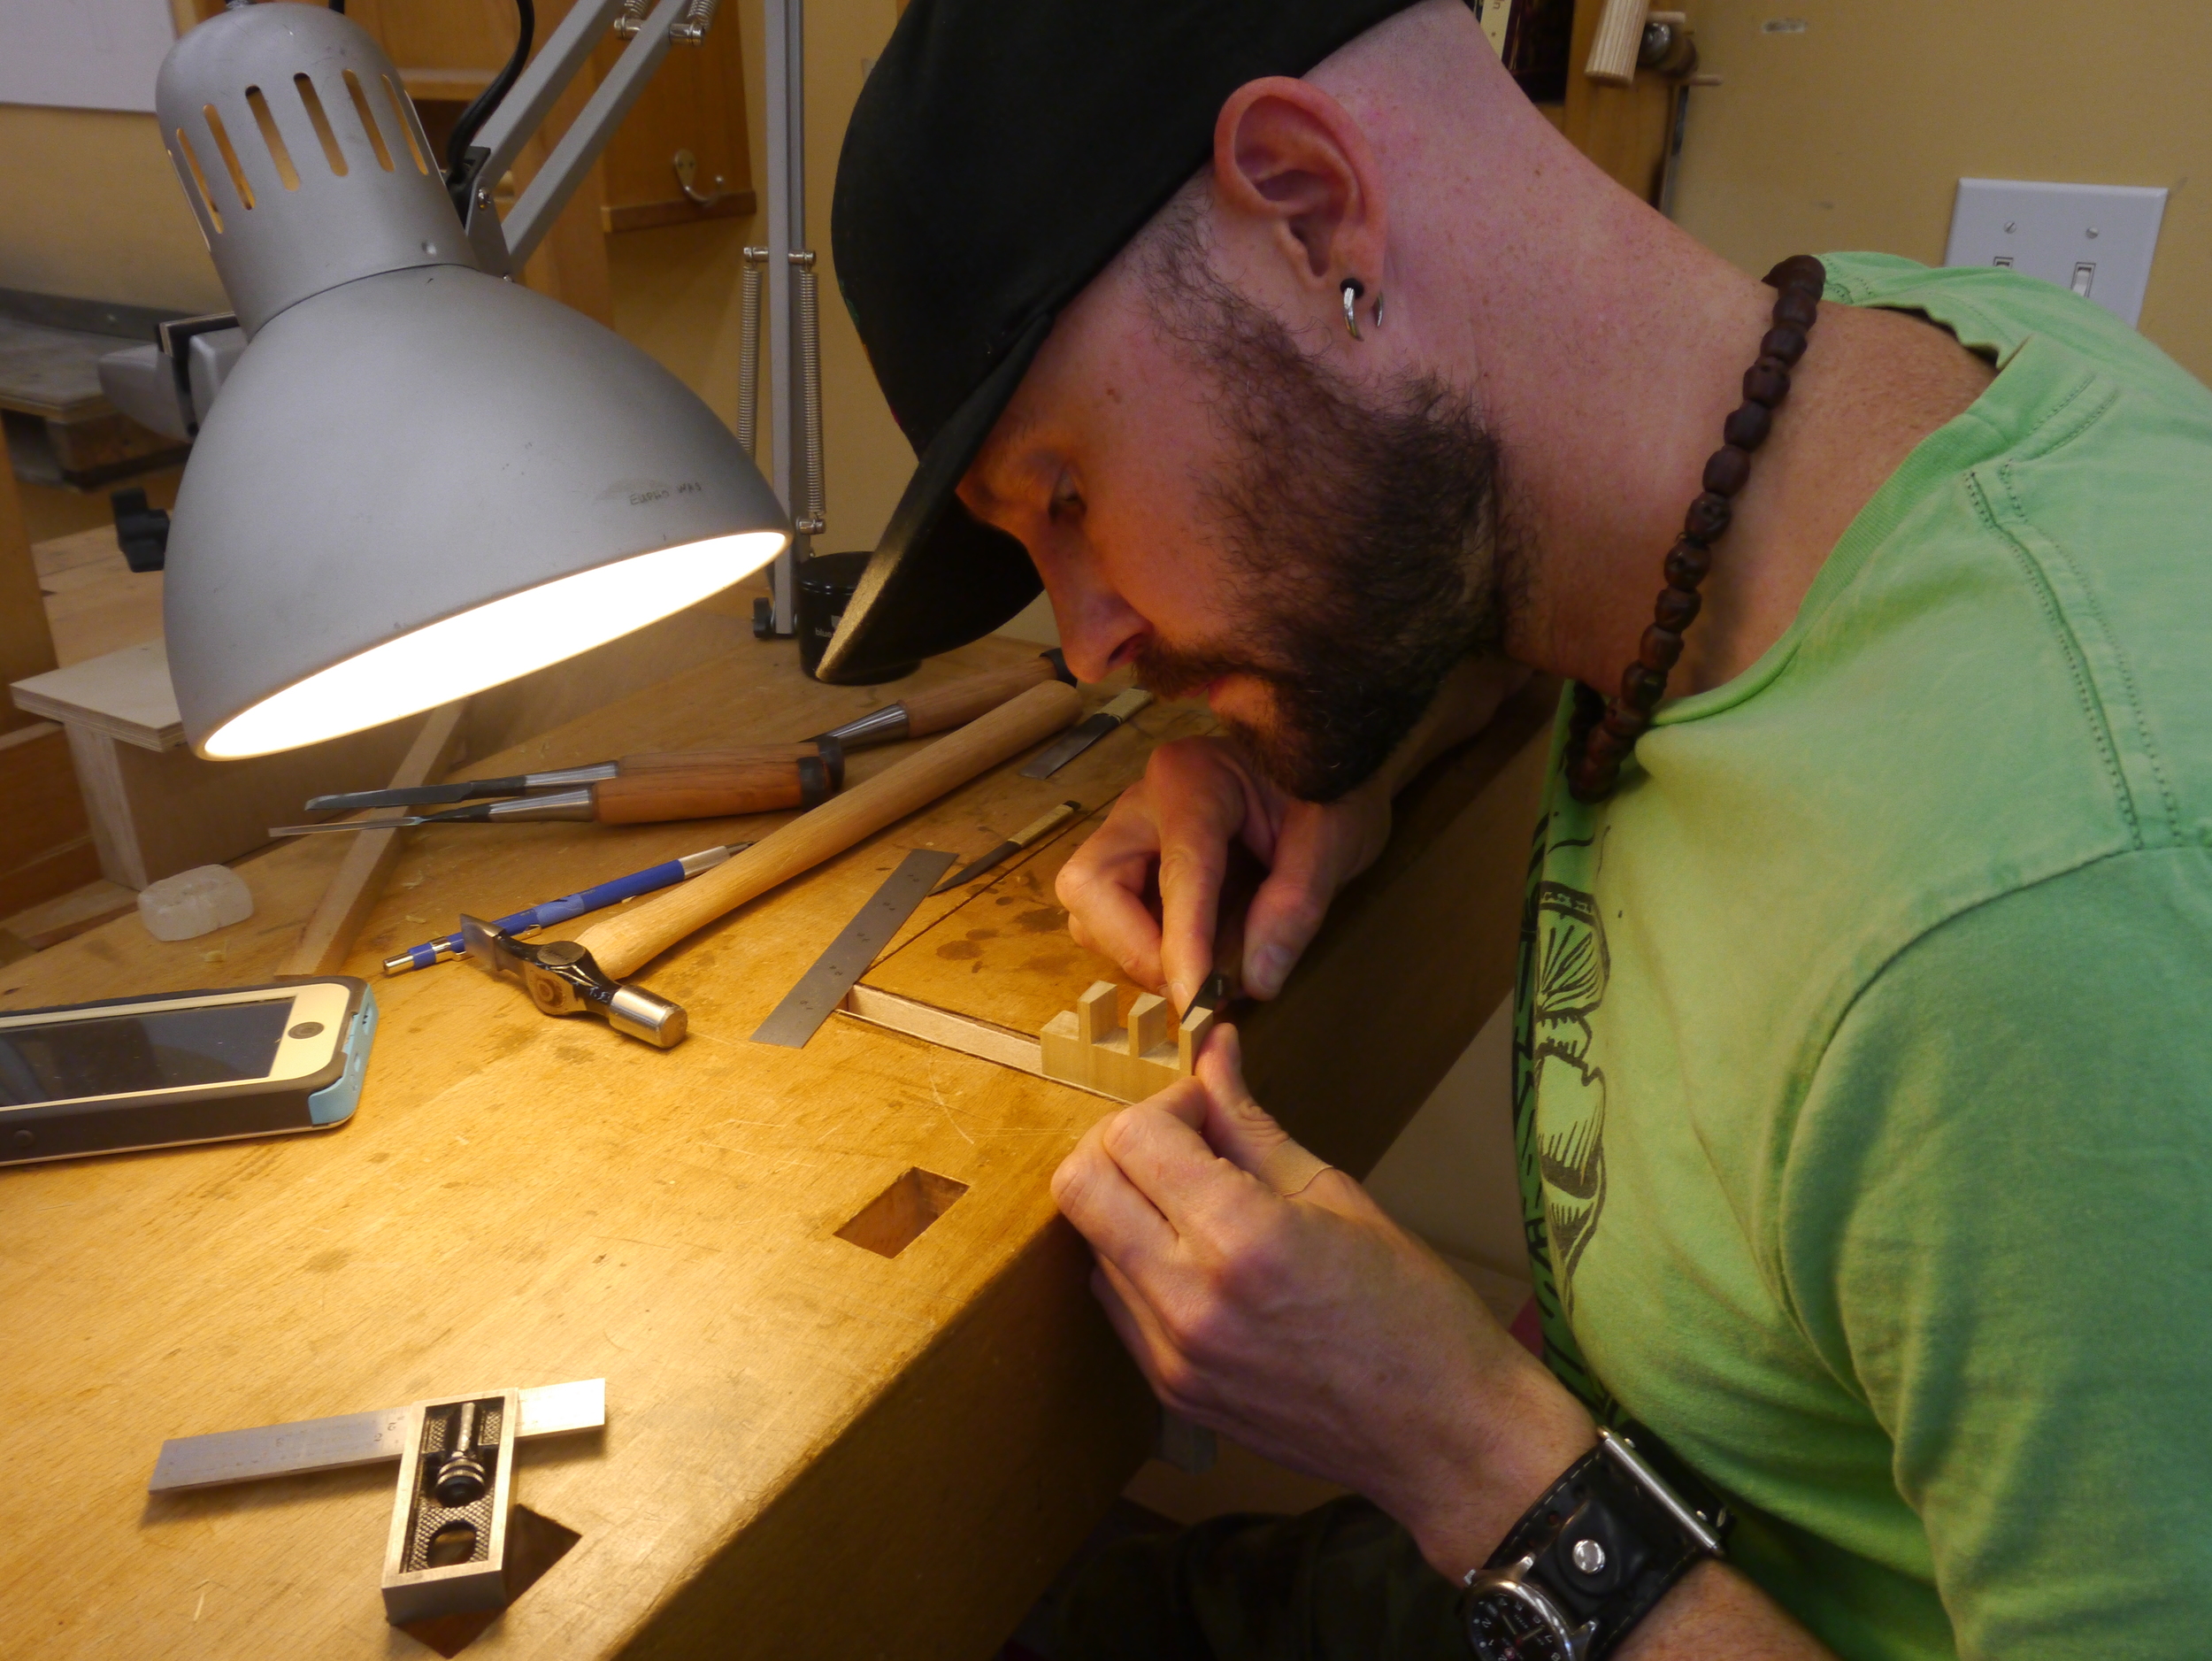
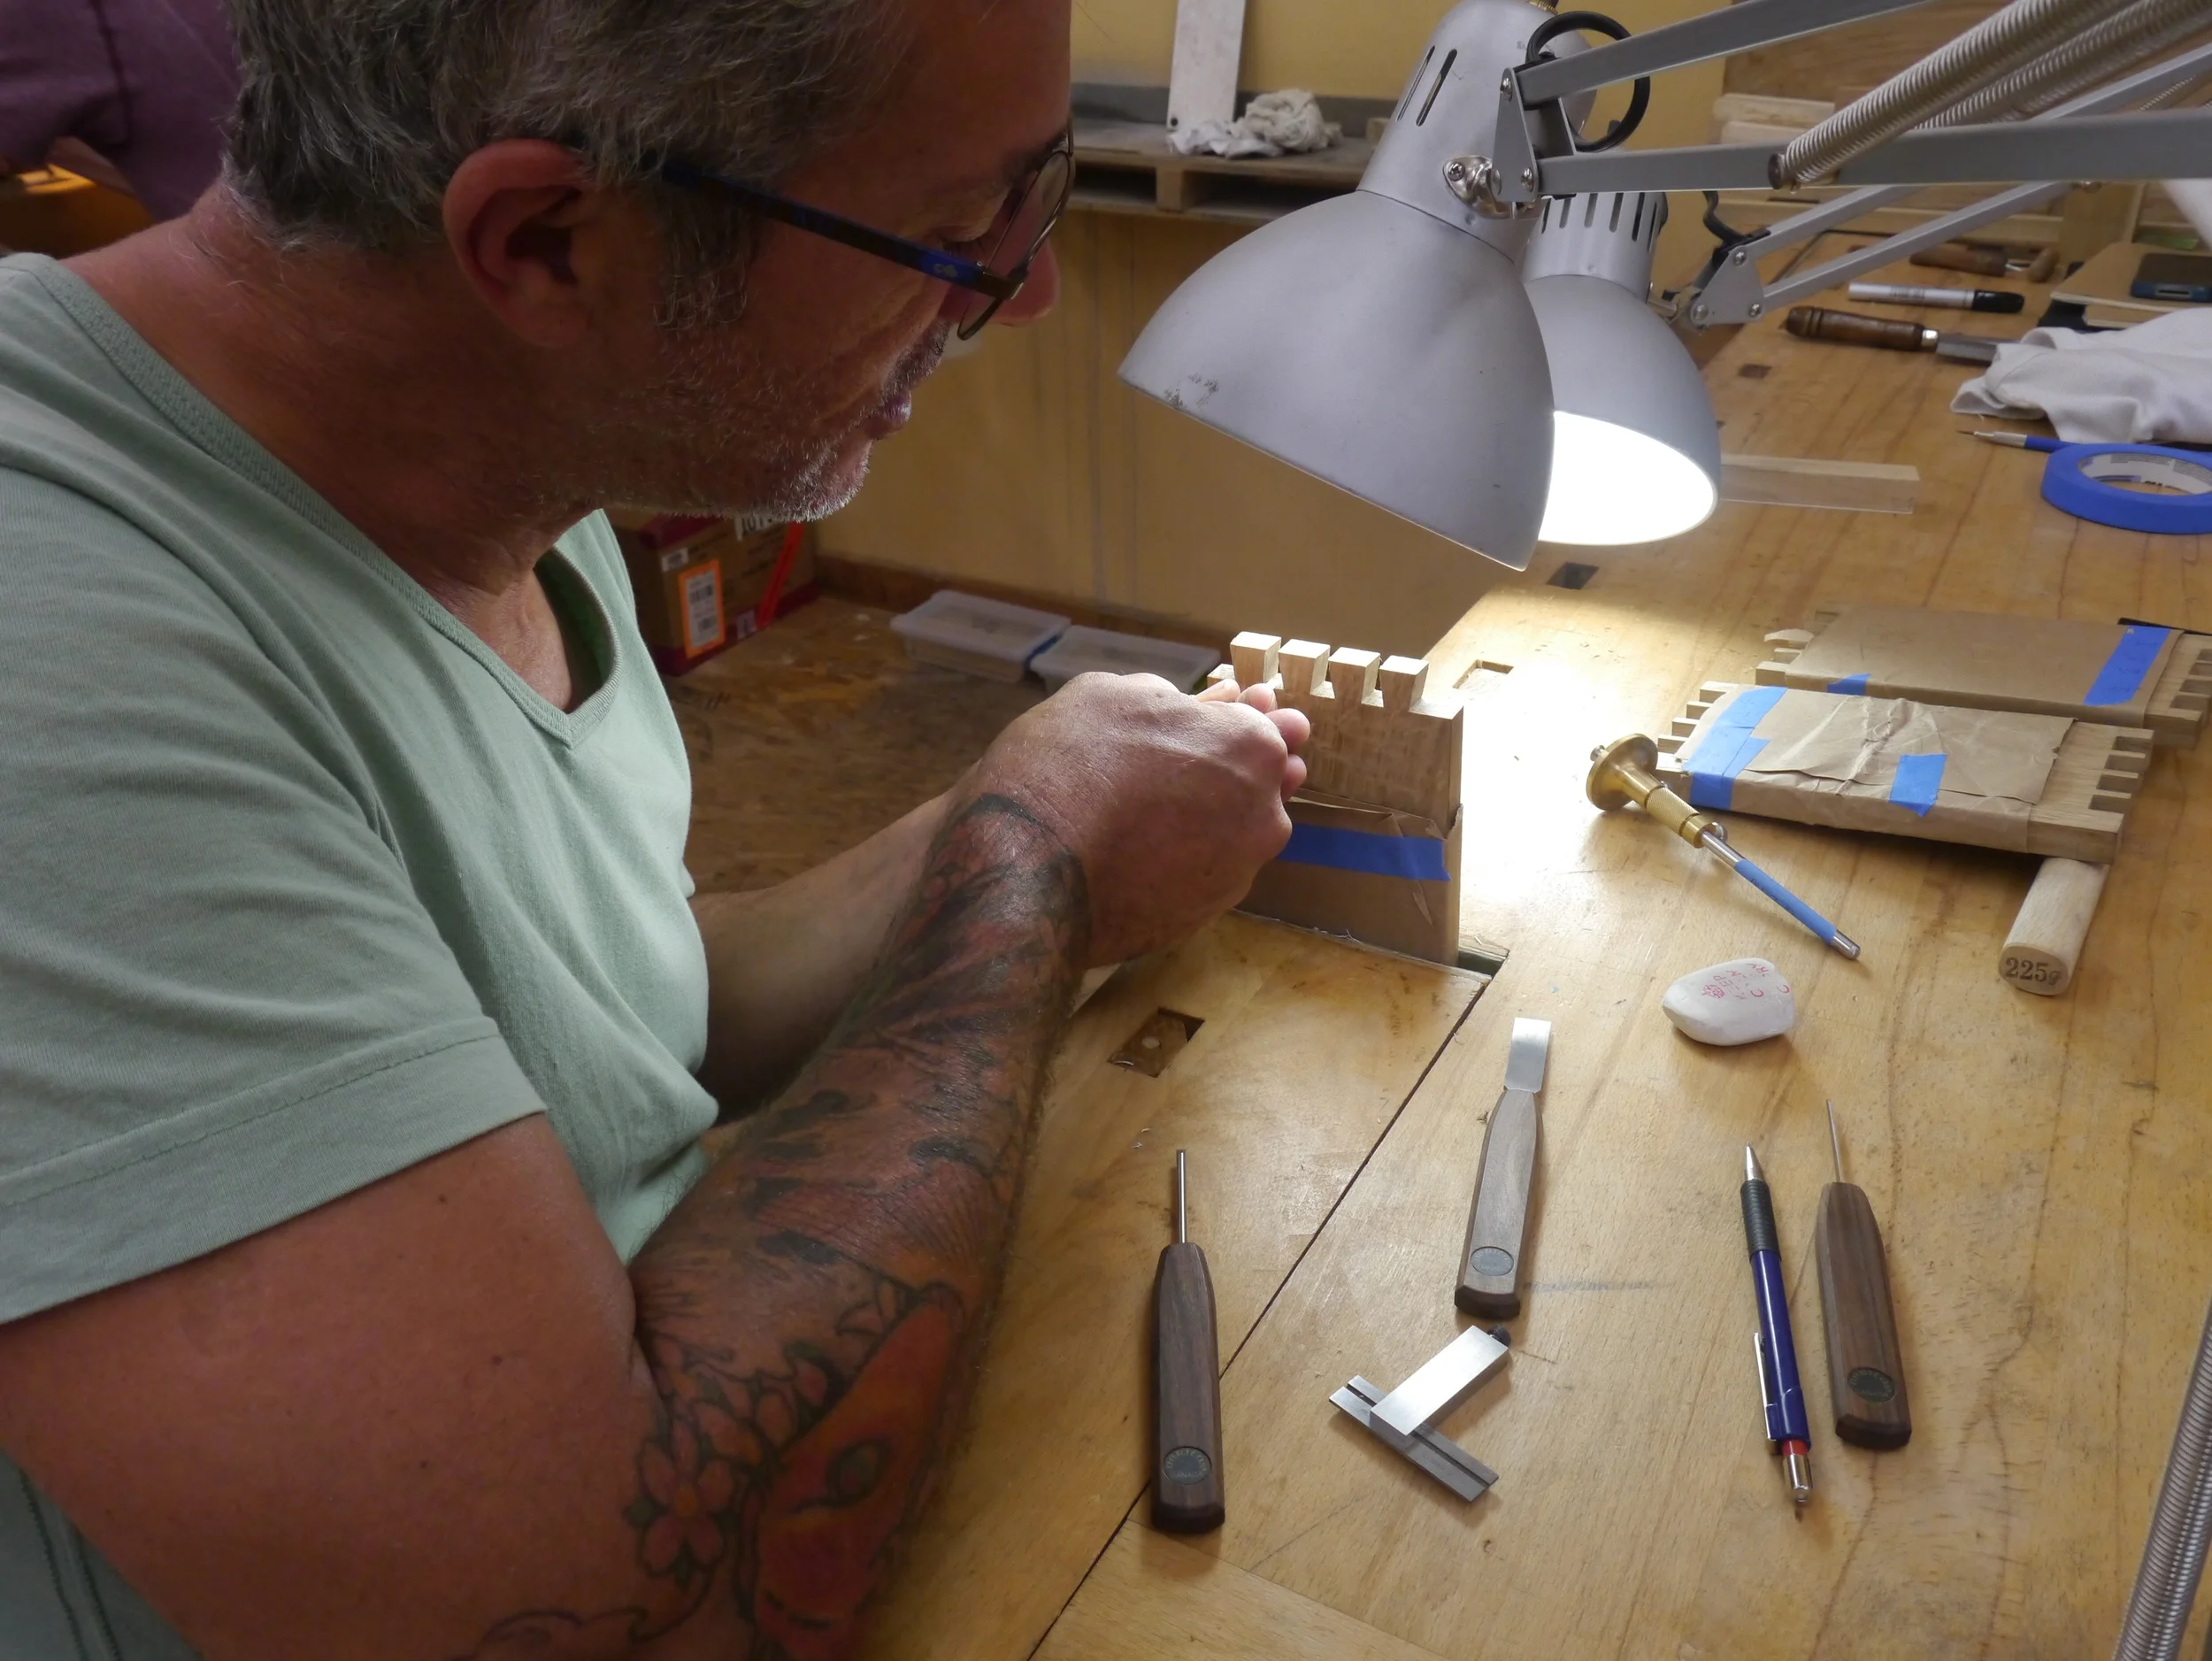
    Reading Jim Krenov’s first book, A Cabinetmaker’s Notebook, I knew immediately I wanted to train with Jim who had trained with Carl Malmsten of Sweden who had trained with Edward Barnsley of England.  After graduating from the Fine Woodworking Program in Fort Bragg, California, I felt a part of a linage of fine craftspersons who created their own work while passing the inspiration and skill to the next generation.  Robert Van Norman also trained with Jim at the same program in California and is now dedicating his life to passing his own and Jim’s skills and inspiration to a new generation of fine furnituremakers. Students from around the world work at the Inside Passage School of Fine Cabinetmaking with the same enthusiasm for their training with Robert that I remembered from my training thirty years earlier with Jim. The machines having moved to this school are now a part of inspiring the next generation.

    Monroe Robinson
    Woodworker and purveyor of fine old growth redwood lumber in Little River, California

  • Fall 2014

     Fall 2014
    Fall 2014

    Resident Craftsman & Teacher

    Robert Van Norman – Canada

    Admissions & Student Services

    Yvonne Van Norman – Canada

    Teaching Assistant

    Caroline Woon – Singapore

    Relief Teacher

    Gary Kent – Canada

    Composing

    John Rinehart – United States

    Upward Spiral

    Jose Alberto Perez Gonzalez  – Spain

    Impractical Studies

    Andrew McKay  – Canada
    Jake Maughan – Canada
    Michael Noble – Canada

  • my hands remembered something

     RsVN 
    RsVN 

    This past week, I set my cabinet aside to organize the shop a bit. A few weeks ago, Yvonne was doing some cleaning and sorting, and came across a wall cabinet that I had started in 1989. It was in the early nineties, that I started leaving the S out of my carved signature. I think mostly due to my lack of carving skills at the time. The cabinet is in Canary wood, with a quarter sawn ash back. The wood was purchased from a little lumber yard in Saskatchewan, where the wood was stored in a barn and old school buses. It was an early attempt at dovetails.

     dovetails in canary wood
    dovetails in canary wood

    I was unsatisfied with my abilities, and quickly lost interest in the piece. We began to use it in its unfinished state for various purposes around the house.  We used it for several years at home to hold our music cassette tapes. It eventually made its way to my shop, and I used it where I used it to hold hardware and bits. It held several of my planes and other handtools, when I went to the College of the Redwoods, and after several moves, after returning from California, I had completely forgotten about it.

     tooling
    tooling

    I was needing a place to house Jim’s tooling in my new shop, so I thought I would take some time, to make a few shelves. As the cabinet was already assembled, I decided to drill for the console holes through from the outside. I made a little drilling jig, and clamped a backer in place so not to blowout on the inside faces. I chamfered all of the holes inside and out, and mounted it on the wall to the left of my bench.

     tooling cabinet
    tooling cabinet

    I cut three shelves, from a piece of cherry that I had made a bed from years ago, and drilled the holes for shaper bits and end mills. I fit them to the cabinet with a plane, and cut and shaped a little curve along the front edge.

     tooling
    tooling

    While carving the consoles, I was reminded of a story that Jim shared with us when he retired from the College of the Redwoods in 2002. In the following years when he lectured for our students at IPSFC, he would share it again now and again with us. The article was about the potter Eva Zeisel, and appeared in the New Yorker April 13, 1987. 

    “You must imagine glazes, possibly highlights sliding around the hills and valleys of an object, emphasizing the breaks of it’s surface. You must imagine that a glossy surface might be dark, and that reflections intrude into the shape, that receding surfaces have a tendency to disappear by shading. You must imagine how handles feel and how pots balance in your hand before they exist, and the shape of the flow continuing the line of the spout, and the shape of the plate or handle so that it does not slip out of your hand when you pick it up. You must also imagine the innumerable outlines or profiles which will delineate an object while either you or it moves relative to the other. You must imagine the lines.” She writes of the complex relationship of “something to nothing” saying of decoration, “When does it impress you as jewelry? And when does it become tedious or even not decreeable by its abundance?” “When do emotions you want to convey become caricatures? What does a sixteenth or thirty second of an inch here or there do to your design? Is it relevant? You must feel this out by watching the renounce of your emotional response.”

    I learned from her daughter that she was working twelve to fourteen hours a day. The next time we spoke, Eva said “ Ive been carving spouts and handles all day. My hands have remembered something. Not my mind but my hands.”

     carving consoles
    carving consoles

    The last couple of mornings I spent carving consoles in my shop before heading into the school to teach, have been the most enjoyable time I have spent at my craft in a very long time. I used a couple of Jim’s knives and chisels and sat in a very comfortable chair designed by Jim’s dear friend, and made by one of my students also a dear friend.
    Be well and enjoy your work,
    Robert


  • Boxwood and Beech

     Parts for frame and panel doors
    Parts for frame and panel doors

    These days I am working on a new cabinet. The past few weeks I spent selecting material, slowly milling stock down to final dimensions, edge jointing, turning pieces over and over, looking for parts… it has been quite the trip already, though I am just getting going.

    It really started with a rather large piece of spalted Chestnut that Robert spotted on our last wood run. With one look I was hooked on the delicate, psychedelic spalting, cream dappled with purplish brown and greyish blues. Though it was mostly too decayed to use, soft and full of bug holes, I clung onto this piece out of pure attraction, convinced that I would find a use for it, knowing at the very least I would simply admire it.

     What started it

    As I approached the completion of my second chair, I felt a bit tired. Unsure if I wanted to take on the complexity of a cabinet right away, I thought about some small simple projects, making some tools. Maybe a practice cabinet to refresh my memory. But my hesitation dissolved upon John starting his Composing piece this session, which reminded me of some of the most fun parts of our work: looking at wood, envisioning, finding clues in the grain as to what it could be.

    So I declared, life is short, I want to a piece. 

    It came together one evening after a week of deep indecision over what to make. Robert pointed out a cabinet by JK which I had been talking about for some time, out of ash with glass and spalted maple in the two frame and panel doors. I could use the spalted Chestnut that I so adored for the door panels, and I had been wanting to practice frame and panel construction… it seemed like the right thing. I just needed something that would go well with the Chestnut, with its lovely matte texture and creamy tones.

    Robert suggested Boxwood, something clicked, we knew it would be a perfect match. He brought out a plank from his shop and there it was, decided. Delighted and overwhelmed by the amazing wood in front of me, I had the beginnings of my cabinet in European Boxwood. 

     European Boxwood
    European Boxwood

    The pictures go a little way in showing how glorious this plank of wood is, so graciously gifted by my teacher. Four and half feet of wonderfully straight grain, three inches thick and ten inches wide, of a species rare in large sizes… dreamy! The colour is rich and warm, the smell like butter. I have noticed that insects passing through the shop love to stop by on the freshly milled pieces.

     Life is good
    Life is good

    I took slices from the edge of the flat sawn board, giving me mostly quartered pieces. What a blessing to have thick stock. And just one knot to be worked around. I rejoiced in my good fortune, there would be enough wood to keep things full size. It would be tight, but just enough.

    Then, disappointment when I resawed my piece of Chestnut. The graphics of spalting on the inside of the plank were unexciting, hardly as spectacular as I had imagined from the outside. As hard as I tried, it was difficult to find two pleasing sections while avoiding the extremely punky areas. 

    Robert and I started talking other options, though I would not give up on the Chestnut just yet. We looked at a couple of different woods from his shop and I pulled pieces from the wood collection at school. Nothing fit the cabinet I had in mind. Determined, I resawed a piece of spalted maple with similar tones. It could have worked, maybe, and in fact quite beautiful in itself, but did not quite match up to the Boxwood…

     Spalted Maple
    Spalted Maple

    Robert perhaps sensed my discouragement, and told me he had one more option. I returned to the school after lunch to find this piece of spalted Beech sitting on my bench, recognising it to be wood from JK’s shop.

    Well, I cannot describe the feeling of receiving such a thing. In fact it is hard to talk about at all so I will keep it close to the chest.

    What I can share is that this gift resulted in the most enjoyable hour I have experienced in the shop to date – slowly and gently flattening this piece of wood by hand. 

  • Advice not taken – finding my way

    The year I left California to return to Canada, with the hopes of finding a place to teach the craft that was so dear to me. A dear friend gave me a piece of advice, suggesting that I build one piece every year. The If I could add to this I would say build it from your heart. Since leaving the College of the Redwoods fourteen years ago, I regret I did not do this. This advice, came from one of the most soulful men I know. I had the good fortune of having Michael Burns as a teacher, and I regret not doing anything and everything to make it happen. Since setting up my shop at home, and taking on the book, I have struggled to find my way back to the craft that inspired me all those years ago. Since first reading A Cabinetmakers Notebook by James Krenov in 1987, our lives have followed a road less traveled, for which I am so grateful. It was that book, and the conversations between Jim and I in the years that lead to the opening of our school in the spring of 2004. I realize now, that while I have gained the passion for teaching, somewhere along the way, I lost something more important. I have recently discovered the importance of working daily from the heart. 

     Sunday morning
    Sunday morning

    In working in my shop a few hours each morning before heading into the school to teach, I do not really feel I have enough to update every week, but will do my best. Since my last entry, I have completed the drawer pocket joinery, mortised for the hinges in the cabinet, cut a few curves and made a new bottom. I have moved onto fitting the door and running the rabbet and lip where they meet. Heart Hand & Eye is progressing well after taking some very good advice from my editor. Every day at the same time.
    Be well and enjoy your work,
    Robert

  • Relationships

    At the beginning of the week, I submitted the first chapter of Heart Hand & Eye to my editor. It had been a lot of work, and as of late had occupied much of my shop time. This weekend would be different, I returned to my cabinet. 

    Saturday afternoon I spent milling the stock for my drawer pocket. A few days ago, I realized that table saw was double cutting on the sliding table side of the saw. I began dialling it in, while I finished dimensioning the parts for my drawer pocket on Jim’s fine old thick planer on Saturday afternoon.

     dimensioning stock on Jim's fine old Stenbergs jointer
    dimensioning stock on Jim’s fine old Stenbergs jointer

    Sunday mourning I finished up with the saw ensuring that the blade’s relationship to the sliding table and the rip fence were consistent, and that it was cutting square in both planes. I often remind our students that fine cabinetmaking is really all about relationships. The relationship that exists between the wood, the tools and the maker, yes, but in many of the facets of our work. This past week, the students and I explored dovetail joinery. When you think about it, the cutting and fitting of a dovetailed joint, is really about the relationships. Between the hand and the eye, the hand and the tool, the tool and the wood, the wood and compression, the wood and the cutting angle, the tool and the stone, the pin and the tail, and on it goes. I enjoy cutting dovetails, and find it almost therapeutic, it serves as a fine example of the relationship we share with our work. 

    In dimensioning my stock, I left things a bit oversized, and kept this in mind when I laid for the dowel joinery, allowing for some dimensioning and shaping to be done after the joinery was cut. An example of this is, I kept enough thickness on the top spacer, so that I can fit it to the slight cup in the bottom side of the top that developed through careless storage on my part and recent spikes in the humidity this past summer. It really is all about relationships. 

    I finished cross cutting the parts to final dimension and laid out the doweling jigs. In this case, I use the other side of a the doweling jigs previously used for the carcass. I then drilled them on Jim’s fine old mortiser.

     drilling on Jim's fine Stenbergs table saw and mortiser
    drilling on Jim’s fine Stenbergs table saw and mortiser

    I cut and planed a bit of taper into my drawer template, that would leave my pocket slightly wider at the back. I removed the jigs from the ends of the vertical partitions, and transferred the jigs to the corresponding parts. I drilled those with and electric hand drill, fitted with a simple shop made wooden stop. When doing the top, I drilled with the spacer in place, which will allow the drawer to run just below the wooden latch on the underside of the top. At the end of the day, I dry fit the pocket into the carcass and began to adjust adjust the dimensions. Be well and enjoy your work, I know I am.
    ​Robert

     Sunday afternoon in the shop
    Sunday afternoon in the shop


  • Dovetails and Tool Making

     A little down, a little in...
    A little down, a little in…

    Gary once described cutting dovetails by hand as a meditation, and I find this to be true.

    It’s a personal undertaking within the craft – everyone has their own way of doing even as they follow in the same techniques and steps, and there are many different methods to work. The experience is always a little different depending on the wood, the size, the number, the day, the mood… but always requires patience and focus. 

    This week our students began their practice of this ancient way of joining wood.

     Jake pares pins
    Jake pares pins
     Jill checks her fit
    Jill checks her fit
     Alberto cleans up his tails
    Alberto cleans up his tails

    Alberto has been cutting dovetails in Garry Oak – British Columbia’s only native oak species and a super beautiful wood. Now in his Upward Spiral, he is working on a reproduction of JK’s pipe cabinet. This week he put his carcass together. Nice work Alberto! 

     Pipe cabinet takes shape in Garry Oak
    Pipe cabinet takes shape in Garry Oak

     My demo

    On Thursday I showed the students how I do it, a little differently from Robert. This demo brought my own attention to how my way has evolved with experience, a nice insight. My familiarity with my tools has grown and my connection to them is natural joy… the satisfaction of a sweet fit still a great pleasure!

     Lovely shop-made tools
    Lovely shop-made tools

    The students continued their toolmaking journeys with a set of tools specific to dovetailing. Each one made a small wooden bevel gauge for laying out dovetails, a small brass hammer, diagonal sticks, a paring chisel, and a single bevel knife. They learned to anneal hardened steel so that it can be repurposed and shaped easily, then to harden and temper it to hold an edge.

     Mike hardening his chisel 
    Mike hardening his chisel 
     Jake uses his paring chisel and single bevel knife
    Jake uses his paring chisel and single bevel knife

    Thank you all for a wonderful week of dovetails. 

     Robert saws
    Robert saws
  • Making Planes

     Smoothing plane 
    Smoothing plane 

    For the last two weeks the Impractical Studies students have been making planes – a smoother, jointer, and a coopering plane. They also started this week on edge jointing and shaping the door of their Wabi Sabi exercise – a small wall hung cabinet with a coopered door.

     At the front bench
    At the front bench
     Marking out the mouth of a coopering plane
    Marking out the mouth of a coopering plane
     Carving the mouth
    Carving the mouth
     Robert glues up
    Robert glues up
     Jake's planes
    Jake’s planes
     Thanks Ron Hock!
    Thanks Ron Hock!
     John fits the top of his cabinet; Mike planes his coopered door
    John fits the top of his cabinet; Mike planes his coopered door

    John has been making awesome progress on his Composing piece, a cabinet out of spalted Western Maple with two coopered doors. This week he finished dowelling his carcass, ran grooves for his partitions and rabbets on the sides of the cabinet.

     End of the day
    End of the day
     Robert's door and coopering planes
    Robert’s door and coopering planes